
Essential safety tips for fitting shutters in your UK home

Fitting shutters safety tips
TL;DR:
- Accurate measurements and proper preparation are crucial for successful DIY shutter installation.
- UK safety standards require cordless or child-safe shutters to prevent hazards and ensure compliance.
- Professional installation provides better accuracy, legal safety, and long-term durability, especially for complex shapes.
Fitting interior shutters yourself can feel like a satisfying weekend project, right up until a panel drops, a frame splits, or a looped cord becomes a hazard you hadn’t considered. The risks are real, and with bespoke or unusually shaped windows, the margin for error shrinks considerably. Get the preparation wrong, and you’re not just facing a cosmetic problem; you’re potentially looking at a costly refit, structural damage, or a safety issue that puts your family at risk. This guide walks you through every critical stage, from pre-installation checks and UK compliance requirements to a step-by-step fitting process and the mistakes that most often catch homeowners off guard.
Table of Contents
- What to check before fitting your shutters
- Complying with UK safety standards for shutters
- Step-by-step: How to fit shutters safely and securely
- Common mistakes and expert tips for bespoke and shaped shutters
- Why professional shutter fitting often saves more than just time
- Ready to fit bespoke shutters safely?
- Frequently asked questions
Key Takeaways
| Point | Details |
|---|---|
| Precision is crucial | Accurate measuring at every point ensures a safe and stylish shutter fit, especially for custom window shapes. |
| Follow UK standards | Adhering to EN 13120 and related standards keeps shutter fittings both legal and child safe. |
| Professional installation advantages | Expert survey and fitting reduce the risk of costly mistakes on complex windows. |
| Proper tools and PPE | Using recommended tools and safety gear protects you and your new shutters during installation. |
What to check before fitting your shutters
With safety and performance on the line, good preparation is everything before you ever lift a drill. The single most important task before anything else is accurate measurement, and this is where many DIY projects begin to unravel. Standard rectangular windows are forgiving; bay windows, arched frames, and triangular openings are not. You should take multiple precise measurements at the top, middle, bottom, and diagonals to account for the irregularities that are almost always present in non-standard windows. Even a two-millimetre discrepancy can mean a panel that binds, gaps, or simply will not close flush.
Our shutter measuring guide walks you through this process in detail, and if you’re working with an arched or angled opening, the advice on measuring shaped windows is particularly valuable. Before you order or fit anything, confirm whether your window frame is timber, uPVC, or masonry, as each requires different fixings and drilling techniques.
Tools and materials checklist
| Item | Purpose |
|---|---|
| Spirit level | Ensures perfectly horizontal and vertical alignment |
| Cordless drill with pilot bits | Creates clean, controlled fixing points |
| Appropriate wall anchors | Matches fixing strength to wall material |
| Tape measure and pencil | Accurate marking before drilling |
| Safety glasses | Protects eyes from dust and debris |
| Work gloves | Prevents cuts when handling large panels |
| Rubber mallet | Seats frames without damaging surfaces |
| Screwdriver set | Tightens fixings securely |
Beyond tools, assess whether your wall can bear the load. Solid brick and timber stud walls behave very differently, and hollow-wall fixings that work for a picture frame are wholly inadequate for a full-height shutter panel. If you have any doubt about the substrate, a professional survey is the most sensible next step.
- Check for pipes and cables behind the wall before drilling
- Confirm the reveal depth is sufficient for your chosen shutter style
- Inspect existing frames for rot, warping, or instability
- Ensure you have adequate lighting in the workspace
Pro Tip: Never rely on a single measurement. Take three widths and three heights for every window, then use the smallest figure to order your shutters. This prevents panels that are too wide to seat correctly.
Complying with UK safety standards for shutters
Preparation is only part of the equation; making your shutters safe and compliant is equally critical. UK and European standards set clear expectations for internal window coverings, and ignoring them is not simply a technical oversight. It carries genuine legal and insurance implications, particularly for landlords and families with young children.
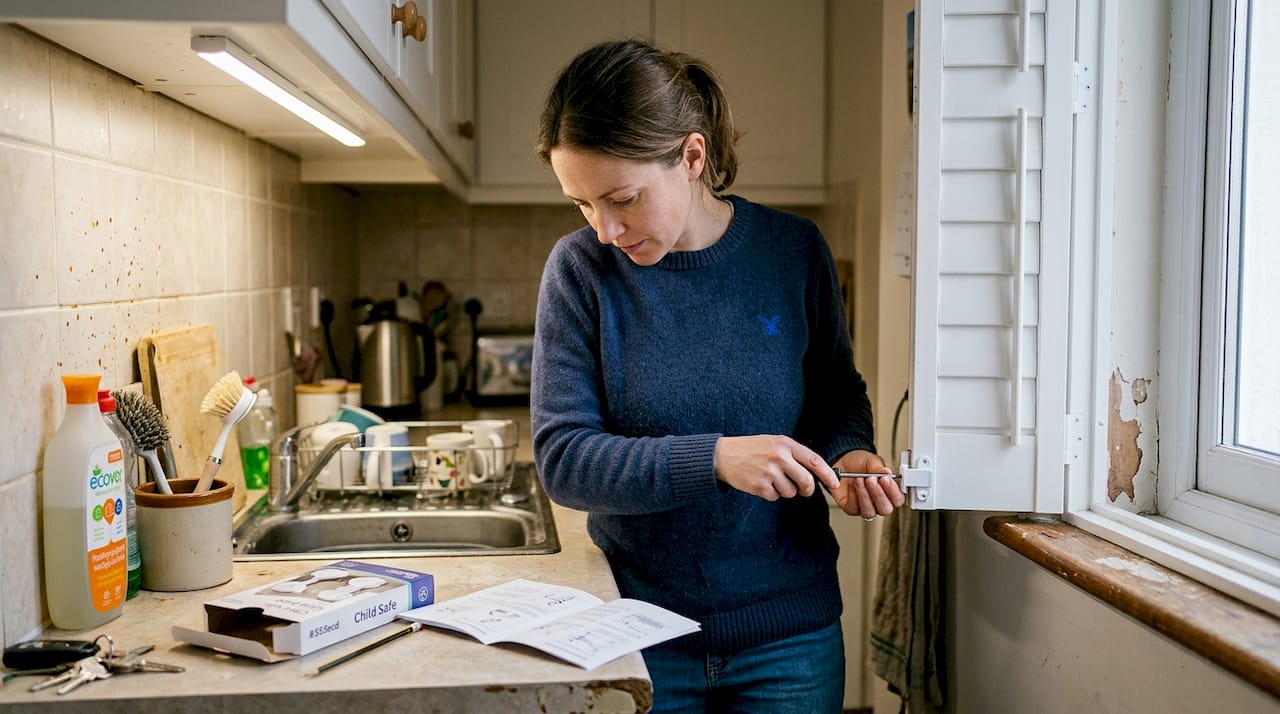
The key standards you need to know are EN 13120, EN 16433, and EN 16434, which govern the performance, child safety, and cord management requirements for internal blinds and shutters. EN 16433 specifically addresses the risk posed by looped cords, while EN 16434 covers cord tensioners and safety devices. Cordless shutter designs, such as those operated by tilt rods or motorised mechanisms, are the most straightforward way to achieve compliance in family homes.
For a full breakdown of what applies to your property, our guide to shutter regulations covers the legal landscape clearly, and our child-safe shutters advice offers practical steps for households with young children.
⚠️ Compliance warning: Any internal window covering installed in a UK home must meet current safety standards. Non-compliant products can invalidate home insurance, create liability for landlords, and, most critically, pose a strangulation risk to children under five. Always verify compliance before installation.
Child safety mechanisms vs. traditional options
| Feature | Cordless shutters | Traditional corded blinds |
|---|---|---|
| Child strangulation risk | None | High if looped cords present |
| Compliance with EN 16433 | Yes | Requires additional devices |
| Ease of operation | Simple tilt rod or motorised | Cord pull mechanism |
| Aesthetic finish | Clean and uncluttered | Visible cord hardware |
To make your installation compliant, follow these steps:
- Remove or replace any looped cords on existing window coverings in the same room.
- Choose cordless shutter panels wherever children or vulnerable adults are present.
- Install cord cleats or tensioners on any remaining corded elements, fixed at least 1.5 metres from the floor.
- Retain product documentation and compliance certificates for insurance purposes.
- Review compliance requirements annually, as standards are periodically updated.
Step-by-step: How to fit shutters safely and securely
With regulations in mind, you’re ready to get hands-on, but make each move count. Rushing any stage here is where injuries and expensive mistakes happen.
- Inspect the frame. Check the reveal for squareness and confirm the frame is stable. Any movement or flex needs addressing before you proceed.
- Mark your fixing positions. Use a pencil and spirit level to mark every hinge and frame bracket position. Double-check these marks are level before drilling anything.
- Drill pilot holes. Always use a pilot drill bit sized slightly smaller than your fixing screw. This prevents splitting timber frames and gives masonry anchors a clean seat.
- Fit the frame. Secure the shutter frame into the reveal using fixings appropriate to your wall material. Use a spirit level throughout, checking alignment after every fixing point.
- Hang the panels. With a second person supporting the panel weight, attach hinges and check the panel swings freely without binding.
- Test alignment and closure. Close each panel fully and check for even gaps at the top, bottom, and sides. Adjust hinges as needed before final tightening.
- Test louvre operation. Open and close the louvres through their full range to confirm smooth, consistent movement.
Working with a partner is strongly recommended for any panel over 600mm wide or 1.2 metres tall. Improper mounting causes one third of all post-installation complications, most of which stem from misaligned frames or under-specified fixings.
Pro Tip: Before committing any fixing permanently, hang the panels loosely and test the full range of movement. It takes five minutes and can save hours of adjustment later.
Common mistakes and expert tips for bespoke and shaped shutters
Even careful installation can go wrong; here’s how to avoid the traps experts see most often. Shaped windows present challenges that standard installations simply do not, and the consequences of getting it wrong are proportionally greater.
The most frequent errors with arched, bay, and angled windows include misaligning the frame to the wall rather than the window opening, omitting additional frame supports at curved sections, and using standard hinges where specialist pivot or piano hinges are required. For bay windows, each facet must be treated as an independent measurement zone. A single measurement taken across the full bay will almost always produce a poorly fitting result.
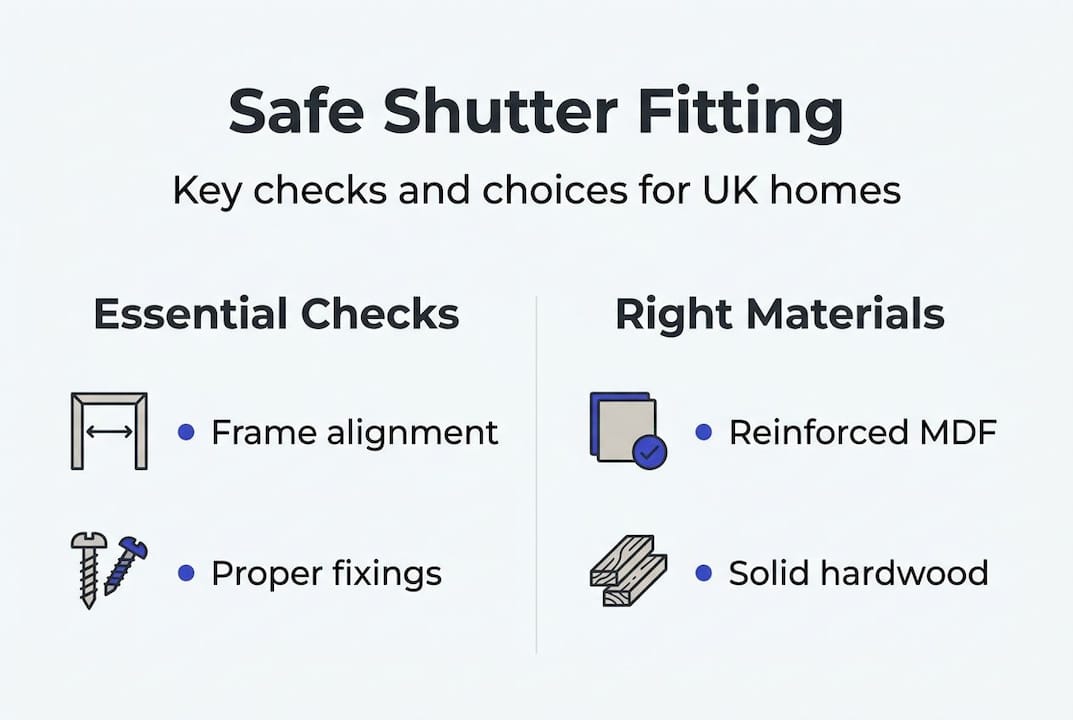
Material selection matters enormously here. For arched or curved openings, reinforced MDF or hardwood with flexible joinery components provides the resilience needed to maintain shape over time. Our guide to the best materials guide explains the trade-offs between materials in detail, and our advice on bespoke fit measuring is essential reading before ordering for complex openings.
Professional installation for complex windows is strongly recommended, particularly where structural precision and UK compliance must both be guaranteed.
DIY vs. professional fitting: cost comparison for complex windows
| Factor | DIY fitting | Professional fitting |
|---|---|---|
| Upfront cost | Lower | Higher |
| Risk of refit | Moderate to high | Very low |
| Compliance assurance | Self-managed | Guaranteed |
| Time investment | Significant | Minimal for a homeowner |
| Warranty coverage | Limited | Full product and labour |
Pro Tip: Always pilot-drill near the edges of shaped frames, and reinforce corner joints with additional brackets before hanging panels. Corners carry disproportionate stress during operation.
If things go wrong mid-installation, here are quick actions to take:
- Panel binding on closure: loosen hinge screws and re-check level before retightening
- Frame pulling away from wall: replace fixings with longer anchors suited to the substrate
- Louvres stiff or uneven: check the tilt rod connection and lubricate pivot points lightly
- Visible gap at frame edge: adjust the frame position before all fixings are fully tightened
Why professional shutter fitting often saves more than just time
Now that you know the technicalities, here’s what most industry professionals wish homeowners understood before reaching for a drill. There is a persistent belief that bespoke shutters are simply more expensive versions of a standard DIY job. They are not. The complexity of a shaped or large-format window demands a level of precision that goes well beyond what a careful amateur can reliably achieve on a first attempt.
We have seen homeowners invest in premium hardwood shutters, measure carefully, and still end up with a refit because the wall substrate was misidentified or the frame was fixed fractionally out of square. Improper mounting causes one third of all complications, and a professional survey eliminates the guesswork that leads to costly remakes. The call-out charge for an expert survey is genuinely modest compared to the cost of reordering a full set of bespoke panels.
There is also the question of insurance. A professionally installed shutter, fitted to current standards, protects your home insurance position in a way that a self-fitted product may not. For peace of mind, compliance, and a finish that genuinely stands the test of time, the professional route is rarely the false economy it might initially appear to be.
Ready to fit bespoke shutters safely?
If you want the look and safety of expertly fitted shutters without the stress, here’s how Shutter World helps. We offer a fully managed service from initial survey through to installation, covering everything from standard rectangular windows to the most architecturally challenging shapes.

Explore our bespoke shutter solutions to see the full range of custom options available, or browse our tailored window shutters for inspiration suited to your home. If you’re ready to see what’s possible, our plantation shutters range is a great starting point. Book your free in-home survey today and let our experienced team take care of every measurement, every fixing, and every detail.
Frequently asked questions
What is the safest way to fit shutters on bay or arched windows?
The safest approach is professional installation, as it ensures compliance, a precise fit, and avoids the structural risks that are particularly common with complex window shapes.
Which UK safety regulations apply to internal shutters in 2026?
EN 13120, EN 16433, and EN 16434 are the governing standards for internal shutters, covering performance requirements and child safety features including cordless design preferences.
How do I measure my window for made-to-measure shutters?
Measure the top, middle, and bottom widths plus both diagonals, then use the smallest figure when ordering; our how-to guide for shutters explains exactly how to account for irregularities in non-standard windows.
What tools and PPE do I need for safe shutter installation?
You’ll need a spirit level, cordless drill, appropriate wall anchors, and PPE including safety glasses and work gloves; the full shutter installation risks guide details the correct specification for each wall type.