
The essential shutter fitting checklist for bespoke interiors

Shutter fitting checklist
TL;DR:
- Precise measurement and understanding of window types are crucial for flawless bespoke shutter fitting.
- Choosing the appropriate material and style affects the shutters’ aesthetics, durability, and performance.
- Proper preparation, correct tools, and following a step-by-step process ensure professional, well-aligned installation outcomes.
Getting bespoke shutters fitted correctly is one of those home improvements where precision truly matters. A poorly measured window or an ill-chosen material can turn what should be a transformative upgrade into a costly headache, leaving gaps, misaligned panels, or a finish that simply does not do your home justice. Whether you are fitting shutters in a period Victorian terrace or a contemporary new-build, every window presents its own set of challenges. This checklist walks you through each critical stage, from first measurement to final adjustment, so that your bespoke shutter installation is flawless from the outset.
Table of Contents
- Assessing your window type and measurements
- Selecting shutter materials and styles
- Preparation and tools checklist for fitting shutters
- Step-by-step shutter installation checklist
- Expert perspective: What most checklists miss in bespoke shutter fitting
- Next steps: Find your ideal bespoke shutter solution
- Frequently asked questions
Key Takeaways
| Point | Details |
|---|---|
| Measure meticulously | Getting window measurements right is crucial for a seamless bespoke shutter fit. |
| Choose quality materials | Hardwood, aluminium, and basswood each have distinct benefits for UK homes. |
| Prepare thoroughly | Having all tools and materials ready makes installation smoother and cuts errors. |
| Follow the checklist | A step-by-step approach ensures shutters are installed perfectly every time. |
| Seek expert advice | Professional guidance is especially valuable for tricky or unusual window shapes. |
Assessing your window type and measurements
Before a single shutter is ordered, you need a thorough understanding of your window. This first step shapes every decision that follows, from the frame depth you require to the style of panel that will suit your space.
Why window type matters so much
Not all windows are created equal, and in British homes especially, the variety is remarkable. You might be working with a traditional sash window, a sweeping bay, a narrow casement, or something altogether more unusual, such as an arched or triangular frame. Each window type demands a different approach to both measurement and shutter design. Bay windows, for example, require careful consideration of the angles between each facet, while sash windows need panels that do not obstruct the sliding mechanism.
Understanding measuring unusually shaped windows is particularly important if your property features architectural glazing. A standard rectangular template simply will not do.
Steps for accurate measurements
Follow these steps in order to obtain the precise measurements your bespoke shutters require:
- Measure the width of the window recess at three points: top, middle, and bottom. Use the smallest figure as your working width.
- Measure the height of the recess at three points: left, right, and centre. Again, use the smallest figure.
- Note the recess depth carefully, as this determines whether you can fit a full-depth frame or require a slimline alternative.
- Record the position of any handles, hinges, or obstructions that might affect panel placement.
- Sketch the window shape, noting any angles, curves, or irregularities that deviate from a standard rectangle.
As highlighted in our bespoke window shutter measuring guide, accurate window measurements prevent installation issues and optimise shutter fit. This is not a step to rush.
Common mistakes homeowners make
Even confident DIY enthusiasts slip up at this stage. The most frequent errors include:
- Measuring only once rather than verifying at multiple points
- Forgetting to account for the window bead or stop (the inner edge of the frame)
- Overlooking obstacles such as window locks or trickle vents
- Assuming both sides of a bay are symmetrical when they frequently are not
For more complex layouts, our step-by-step measuring guide provides detailed illustrations and examples for the most common window configurations found across UK properties.
Best tools for measurement
A steel tape measure is far more reliable than a fabric one for this task, as fabric stretches and gives inconsistent readings. A digital vernier calliper is useful for checking frame depth precisely. Always have a pencil and a proper measuring sheet to hand so no figure is lost.
Pro Tip: Always verify measurements twice, on two separate occasions if possible. Natural light and fresh eyes often catch an error that fatigue causes you to miss the first time around.
Selecting shutter materials and styles
With accurate measurements in hand, the next step is picking the right materials and styles for your bespoke shutters. This choice influences not just the look of your home but also how the shutters perform over years of daily use.

Understanding your material options
The three most common materials for interior shutters in UK homes are hardwood, basswood, and aluminium. Each has genuine strengths, and the right choice depends on your priorities.
| Material | Aesthetic appeal | Durability | Insulation | Maintenance |
|---|---|---|---|---|
| Hardwood | Premium, rich grain | Excellent | Strong thermal performance | Low, occasional wipe |
| Basswood | Clean, smooth finish | Good | Moderate | Low |
| Aluminium | Sleek, contemporary | Outstanding | Good, especially moisture resistance | Very low |
As material choice impacts both performance and aesthetics, selecting the wrong one for your environment can lead to warping, discolouration, or poor insulation over time.
Hardwood: the premium choice
Hardwood shutters, such as those found in our Montana range, deliver a timeless, luxurious finish that genuinely stands the test of time. The natural grain adds warmth and character to any room, and hardwood shutters can be painted or stained to match any interior palette. It is worth noting that hardwood shutters can offer a meaningful energy efficiency improvement in well-fitted installations, making them a practical as well as a beautiful investment.
Aluminium: the modern workhorse
Aluminium window shutters are an outstanding choice for bathrooms, kitchens, and conservatories, where moisture and humidity would compromise timber over time. They resist corrosion, clean effortlessly, and hold their shape indefinitely. Their slightly industrial aesthetic also suits contemporary interiors beautifully.
Popular styles for UK interiors
Beyond material, you will need to choose a panel configuration and louvre (the horizontal slats) size. Key decisions include:
- Full-height panels: Clean, uninterrupted look, ideal for tall windows and a modern aesthetic
- Café style: Covers only the lower portion of the window, preserving light while providing ground-floor privacy
- Tier-on-tier: Upper and lower panels operate independently, offering exceptional flexibility
- Solid panels: No louvres; perfect for decorative applications or total blackout in bedrooms
Louvre sizes typically range from 47mm to 114mm. Larger louvres create a more open, airy feel and allow more light through when tilted open, while smaller louvres suit period properties and more traditional interiors.
Choosing materials with guidance from our measuring window frames for shutters resource ensures that the selected style also accounts for your frame depth and recess dimensions.
Preparation and tools checklist for fitting shutters
Material and style decided, it is time to ensure you are fully prepared with the right tools and setup for fitting. Arriving at installation day without the correct equipment is one of the most avoidable causes of delay and frustration.
Essential tools for shutter fitting
Having all necessary tools and materials ready streamlines installation and reduces errors significantly. Gather the following before you begin:
- Power drill with a selection of drill bits suited to your wall and frame type
- Spirit level, ideally both a short and a long version
- Steel tape measure
- Cross-head and flat-head screwdrivers
- Pencil and marking square
- Wall plugs and fixings appropriate for your frame material (timber, uPVC, or masonry)
- Hammer and mallet for gentle persuasion of tight-fitting components
- Protective dust sheets to keep floors and furniture clean during drilling
Pro Tip: Invest in a good quality spirit level rather than using a budget version. Even a millimetre of inaccuracy in your level reading will translate into a visibly misaligned panel once the shutter is hung, and re-drilling is both time-consuming and leaves unnecessary marks on your frames.
Preparation steps before installation
Good preparation is what separates a smooth installation from a stressful one. Work through this checklist the day before:
- Confirm all components have arrived and match your order specification
- Lay out the frames and panels and verify they correspond to the correct windows
- Check walls and frames for any damp, damage, or instability that could compromise the fixing
- Clean window recesses thoroughly so frames bed flush without grit or debris causing gaps
Reviewing our guide on installing shutters step-by-step beforehand will give you a clear picture of the full sequence, so nothing catches you off guard.
Common mistakes and how to avoid them
| Mistake | Why it happens | How to avoid it |
|---|---|---|
| Frames fitted out of square | Rushing the levelling stage | Always check level before fixing |
| Wrong fixings used | Not checking frame material first | Identify uPVC, timber, or masonry in advance |
| Panels hung too tight | Frame not seated correctly | Check swing clearance before finalising fixings |
| Louvres misaligned | Tilt rod not connected properly | Test louvre movement before closing up |
Our bespoke shutter fitting tips resource expands on each of these points with practical solutions drawn from real installations across the UK.
Step-by-step shutter installation checklist
Now that everything is ready, follow this step-by-step checklist for a flawless shutter fitting. This sequence is designed to prevent the most common errors and deliver a finish that looks and functions exactly as intended.
“Attention to detail transforms installation from ordinary to outstanding.”
- Unpack and inspect all components. Lay everything out on dust sheets and cross-reference against your delivery note. Check for any transit damage, particularly to louvre edges and frame corners, before proceeding.
- Mark fixing positions for the frame. Hold the frame in the recess, use your spirit level to confirm it is perfectly plumb (vertical) and square, then mark drilling positions clearly with a pencil.
- Drill and fit wall plugs. Select the correct drill bit for your wall or frame material. Drill slowly at first to avoid blowouts in uPVC or splitting in older timber frames, then insert plugs flush.
- Fix the frame. Secure the frame to the recess using the specified fixings, working from the top down. Check level again after each fixing to catch any movement before it compounds.
- Hang the shutter panels. Locate the hinges on the frame, align the panel, and clip or screw into position. Open and close the panel several times to confirm there is no binding or excessive gap.
- Connect the tilt rod and test louvre movement. Attach the tilt rod (the vertical bar that moves all louvres simultaneously), then tilt fully open and fully closed to check for smooth, uniform movement across every louvre.
- Check alignment across all panels. Where you have multiple panels, confirm that louvres align horizontally across the full width of the window. Small adjustments can often be made via the hinge screws.
- Apply finishing touches. Fit any decorative hinges, cover caps, or magnetic closures specified in your order. These finishing details make a significant difference to the overall appearance.
As following a step-by-step checklist ensures professional outcomes and avoids common errors, working through each stage methodically rather than skipping ahead is always worthwhile.
For properties with non-standard openings, our guide on managing installations for unique windows addresses the specific challenges of arched, angled, and triangular frames, where the sequence above requires careful adaptation.
A final walkthrough matters enormously. Stand back from each window in turn, observe the panels in both open and closed positions, and check that light control and privacy function exactly as you intended. Only when every window passes this visual inspection should you consider the job complete.
Expert perspective: What most checklists miss in bespoke shutter fitting
Having worked with homeowners across the UK for over 25 years, we have noticed something telling: the checklist itself is rarely the problem. What causes genuinely bespoke installations to fall short is a mindset that treats the shutter as a product to be installed rather than a permanent architectural feature to be integrated.
Most guides focus on the mechanical steps and overlook the judgement calls that only experience can inform. For instance, knowing when a recess is just slightly out of square and choosing to scribe the frame rather than force it. Or recognising that a particular window, perhaps a Victorian sash with an irregular reveal, will need the frame shimmed precisely rather than fixed rigidly.
We also see homeowners underestimate the value of a second opinion at key moments. Asking someone else to verify your level reading or check panel alignment costs nothing but can save hours of remedial work. Our expert shutter fitting tips reflect this philosophy throughout.
The most important insight we can offer is this: bespoke means made for your window, not a standard window that happens to be similar. That distinction demands patience, careful observation, and a genuine willingness to pause and ask for help when something does not look or feel quite right. The difference is in the details, and in the willingness to get them right.
Next steps: Find your ideal bespoke shutter solution
To ensure your bespoke shutter installation is truly flawless, tap into professional resources that can guide you further. At Shutter World, we combine over 25 years of expertise with a fully managed service, so you never have to navigate complex window challenges alone.
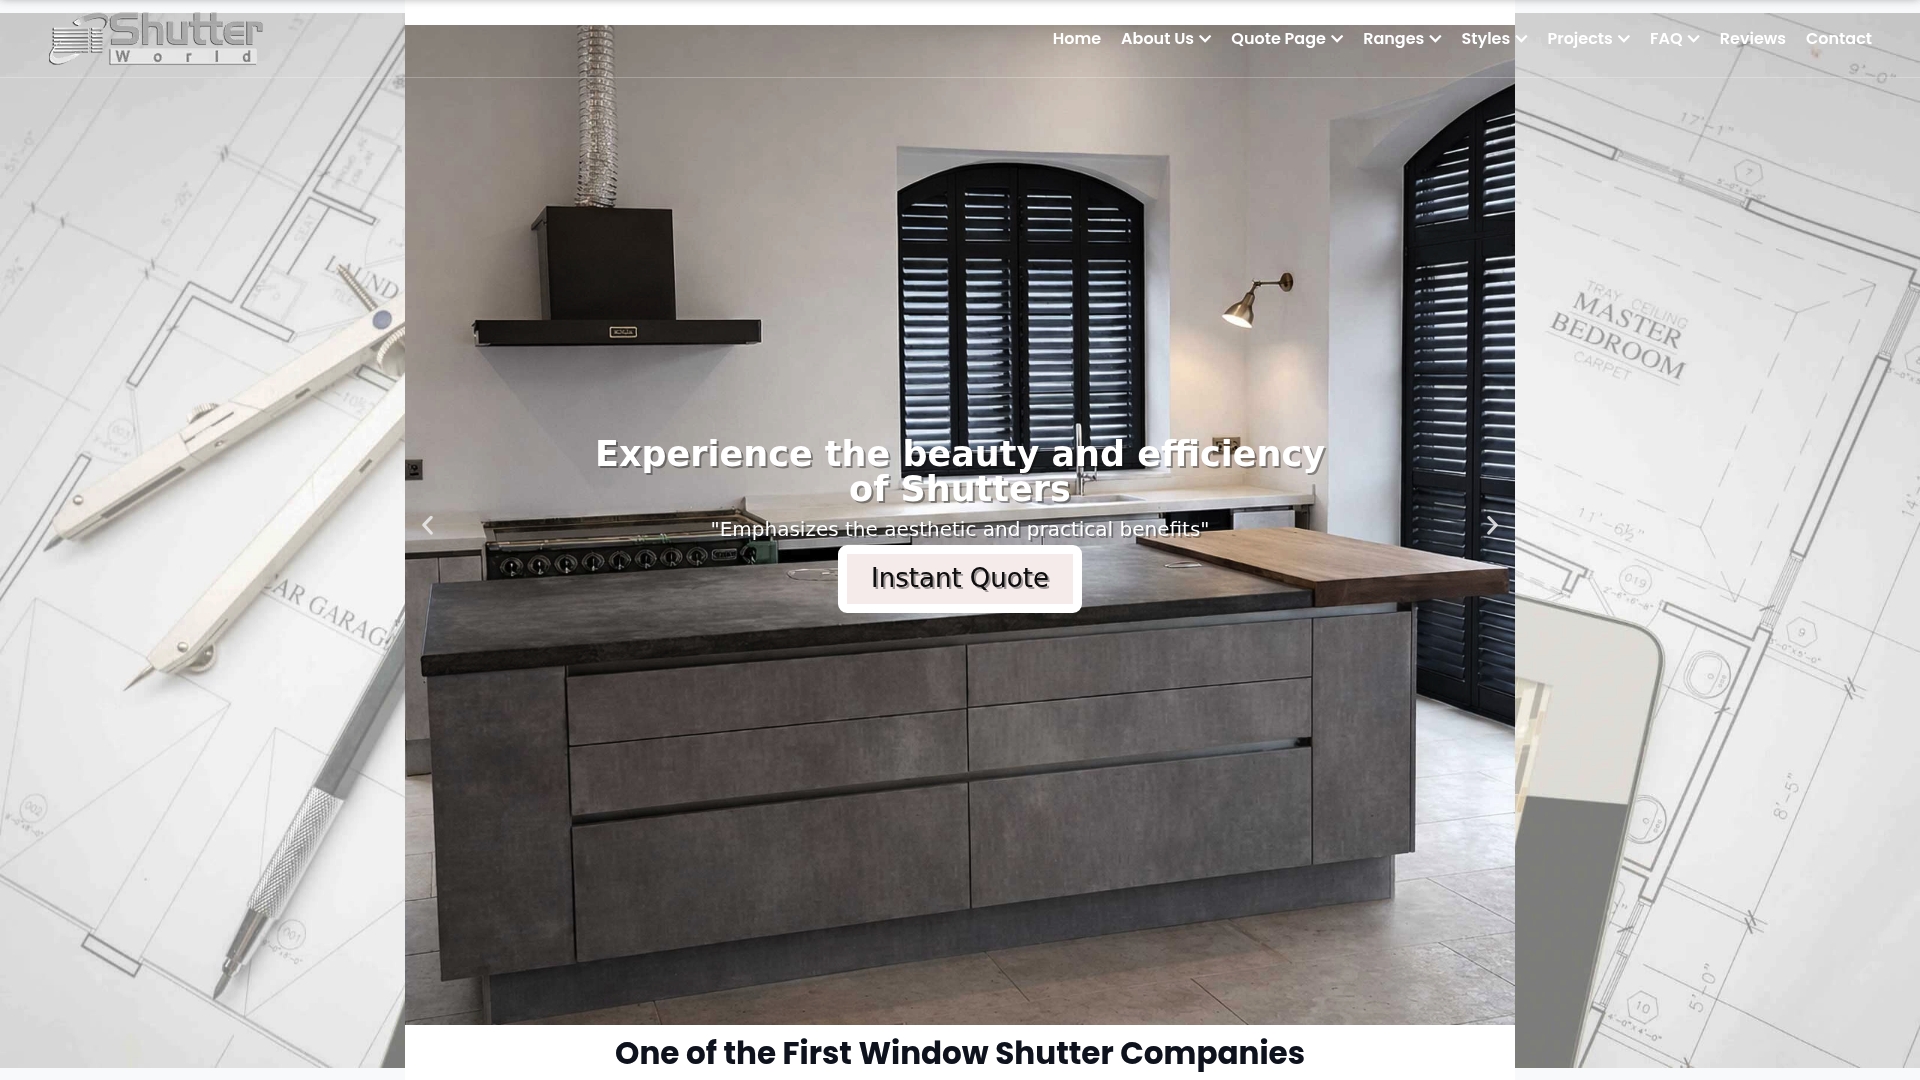
Explore the hidden benefits of bespoke shutters that go beyond aesthetics, from improved insulation to lasting property value. Whether you need tailored bespoke internal shutters for a tricky architectural window or you are considering timeless plantation shutter installations for your living spaces, our team is ready to help you find the perfect solution. Book your free in-home survey today and let us bring your vision to life.
Frequently asked questions
What are the most common mistakes in shutter fitting?
Common mistakes include inaccurate measurements, neglecting to check window shape, and improper tool selection. As accurate measurements are vital to avoid installation issues, verifying every figure at least twice is essential before placing your order.
How important is material selection for bespoke shutters?
Choosing the right material is critical, as it influences insulation, durability, and visual appeal throughout the lifespan of your shutters. Material choice impacts both performance and aesthetics, making hardwood and aluminium the most popular options for their resilience and finish.
Can I install shutters myself or should I hire a professional?
DIY installation is entirely possible with careful preparation and the right tools, particularly for standard rectangular windows. However, for non-standard or complex shapes, professional help is strongly advised to ensure an accurate, lasting fit.
What tools are essential for shutter fitting?
Key tools include a power drill, spirit level, steel tape measure, screwdriver, and appropriate fixings for your frame type. Having the right tools ready before you begin is crucial for a smooth, efficient installation with minimal errors.
How do I ensure shutters are properly aligned?
Careful measurement combined with regular level checks at every stage of fixing helps maintain alignment across all panels. Following precise fitting steps and testing each panel’s movement before finalising fixings ensures a clean, professional result.