
How to update shutters: a stylish, practical home guide

How to update shutters
Outdated shutters do more than look tired. They can drain warmth from your rooms, compromise your privacy, and quietly chip away at the kerb appeal you’ve worked hard to build. Whether your panels are warping, fading, or simply no longer reflect your taste, the good news is that updating your shutters is far more straightforward than most homeowners expect. This guide walks you through every stage, from spotting the warning signs to completing a flawless finish, so you can enjoy a home that looks beautiful and performs brilliantly all year round.
Table of Contents
- Assessing your shutters: what to look for before updating
- Preparing for shutter updates: tools and materials you need
- Step-by-step process: how to update shutters effectively
- Troubleshooting and maintenance: avoiding common mistakes
- Why bespoke shutter upgrades are a smart investment
- Enhance your home with professional shutter solutions
- Frequently asked questions
Key Takeaways
| Point | Details |
|---|---|
| Evaluate current shutters | Check for signs of wear or inefficiency before starting any update. |
| Gather essential tools | Proper tools and materials prevent costly mistakes and ensure quality upgrades. |
| Follow step-by-step process | Careful execution, from removal to installation, leads to lasting results. |
| Maintain for longevity | Routine cleaning and minor repairs keep your shutters efficient and attractive. |
| Consider bespoke solutions | Custom upgrades maximise both aesthetics and energy savings for UK homes. |
Assessing your shutters: what to look for before updating
Before you invest time or money into an update, it pays to take a careful look at what you’re working with. Stand back and examine each shutter panel in natural daylight. You may be surprised by what you notice.
The most common signs that your shutters are ready for an upgrade include:
- Visible cracks or splits in the panels or louvres
- Faded or peeling paint that dulls the overall appearance of your room
- Loose or stiff fittings that make opening and closing difficult
- Warped panels that no longer sit flush with the window frame
- Draughts around the edges, suggesting the seal has deteriorated
Once you’ve catalogued the damage, consider whether the issue is primarily aesthetic or functional. A shutter with minor paint fading may only need a fresh coat, while one with structural warping or broken hinges likely requires full replacement. This distinction shapes your entire approach.
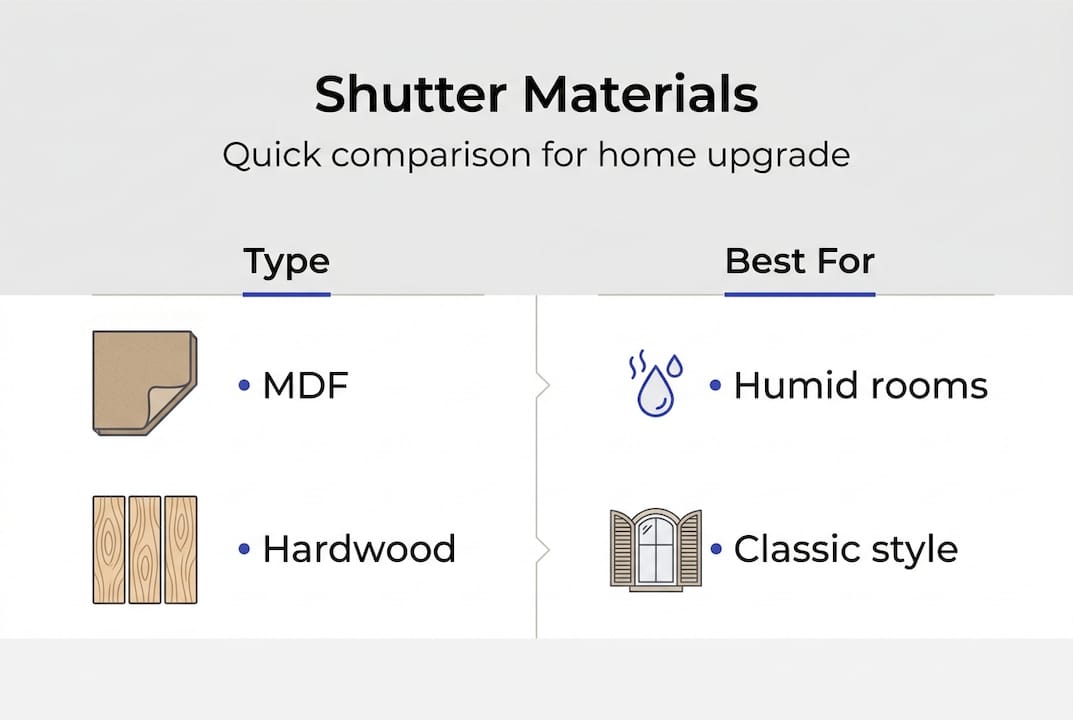
Material matters enormously here. MDF shutters with a polypropylene coating, such as those in our Seattle range, are highly resilient and moisture-resistant, making them ideal for kitchens and bathrooms. Hardwood shutters, like those in our Montana range, offer a premium finish and outstanding longevity, but they may require more attentive care over time.
| Shutter type | Best for | Maintenance level |
|---|---|---|
| MDF with polypropylene coating | Humid rooms, busy households | Low |
| Hardwood | Living rooms, period properties | Medium |
| Bespoke engineered | Unusual window shapes | Low to medium |
Energy performance is another consideration that homeowners often overlook. Energy-efficient shutters provide better insulation and save on bills, so if your current shutters are letting cold air in, upgrading to a well-fitted alternative could make a noticeable difference to your heating costs.
Pro Tip: Run your hand along the edges of closed shutters on a cold day. Any draught you feel is a clear signal that your shutters are no longer performing as they should.
Once you’ve identified your shutters are ready for an upgrade, it’s important to move on to preparation.
Preparing for shutter updates: tools and materials you need
Good preparation is the foundation of any successful shutter update. Rushing into the process without the right tools or materials is one of the most common reasons homeowners end up with results they’re not happy with.
Here’s what you’ll typically need for a DIY shutter refresh:
- Tape measure and spirit level for accurate sizing and alignment
- Screwdrivers and a cordless drill for removing and refitting hardware
- Sandpaper (medium and fine grit) for surface preparation before painting
- Primer and paint suitable for shutters (water-based acrylic works well on MDF)
- Paintbrushes and a small roller for an even, streak-free finish
- Wood filler for repairing minor surface damage
- Cleaning cloths and a mild detergent for degreasing surfaces before painting
For those considering bespoke replacements rather than a simple refresh, the material checklist expands. You’ll need to source panels, hinges, tilt rods, and frame components that match your window dimensions precisely. Measuring shutters correctly is vital for bespoke shutter solutions, and even a few millimetres of error can result in panels that don’t close properly or frames that don’t seat flush.
| Task | Recommended tool | Why it matters |
|---|---|---|
| Measuring window recess | Steel tape measure | Accuracy to the millimetre |
| Checking alignment | Spirit level | Prevents uneven installation |
| Surface preparation | Orbital sander | Faster, more consistent finish |
| Fitting hardware | Cordless drill | Reduces effort and improves precision |
When it comes to finishes, consider how the shutter colour will interact with your room’s natural light. Lighter tones reflect more light and make spaces feel larger, while deeper shades add drama and warmth. Satin and eggshell finishes tend to be the most practical for shutters, as they’re easier to wipe clean than matt alternatives.

Pro Tip: Always buy slightly more paint than you think you need. Shutters have more surface area than they appear, and running out mid-project can result in visible colour inconsistencies between coats.
With your tools and materials ready, you can begin updating your shutters step-by-step.
Step-by-step process: how to update shutters effectively
With preparation complete, you’re ready to work through the update itself. Follow these steps in order for the best results.
- Remove the shutters carefully. Unscrew hinges from the frame and lift panels away. Label each panel with masking tape so you know exactly where it came from.
- Clean the window recess thoroughly. Remove dust, old paint flakes, and any adhesive residue. A clean surface ensures better adhesion for new paint or fittings.
- Repair any surface damage. Fill cracks or dents with wood filler, allow it to dry fully, then sand smooth. For warped panels, assess whether repair is feasible or whether replacement is more practical.
- Sand all surfaces. Work through medium grit first, then finish with fine grit for a smooth base. Wipe away all dust with a damp cloth before painting.
- Apply primer. A good primer seals the surface and helps paint adhere evenly. Allow to dry fully between coats.
- Paint in thin, even coats. Two or three thin coats will always outperform one thick coat. Allow each coat to dry completely before applying the next.
- Refit or replace hardware. Install new hinges, tilt rods, and magnetic catches as needed. Use your spirit level to ensure everything is perfectly aligned before tightening screws fully.
- Rehang the panels and test. Open and close each panel several times to check for smooth movement. Make minor adjustments to hinge positions if needed.
“A shutter that opens and closes effortlessly, fits flush with the frame, and complements the room’s colour palette is a shutter that has been updated with genuine care and precision.”
It’s worth noting that shutters for energy savings can improve both design and thermal performance, so if you’re replacing rather than refreshing, choosing panels with a snug fit and quality seals will pay dividends through the colder months.
After completing your shutter update, it’s important to review your work and address any emerging issues.
Troubleshooting and maintenance: avoiding common mistakes
Even the most careful update can throw up a few challenges. Knowing what to look for, and how to respond, saves you time and frustration.
Common mistakes and how to avoid them:
- Measurement errors. Taking a single measurement and assuming the window is perfectly square is a frequent pitfall. Always measure at multiple points across the width and height of the recess.
- Skipping the primer. Paint applied directly to bare MDF or wood can look uneven and peel quickly. Primer is not optional.
- Over-tightening screws. This can strip the fixing points in the frame, making it difficult to achieve a secure fit. Tighten firmly but without force.
- Painting in cold or damp conditions. Paint applied in temperatures below 10°C or in high humidity takes far longer to dry and is more prone to bubbling or flaking.
- Misaligned panels. Hanging shutters without checking alignment with a spirit level is one of the most visible mistakes once the job is done.
For ongoing maintenance, a simple routine goes a long way. Wipe louvres and panels with a soft, slightly damp cloth every few weeks to prevent dust build-up. Avoid harsh chemical cleaners, as these can strip paint finishes or damage polypropylene coatings. Check hinges and fittings every six months and tighten any that have worked loose.
Energy efficiency window coverings rely on proper care to maintain their performance over time, so don’t underestimate the value of a consistent maintenance habit.
Pro Tip: A small amount of beeswax or furniture wax applied to hinge pins once a year keeps shutters opening and closing smoothly without any squeaking.
If you encounter structural issues, panels that simply won’t align despite adjustments, or windows with unusual shapes that standard shutters won’t cover effectively, that’s the moment to bring in a professional. Expert installation removes the guesswork entirely.
Maintaining your shutters ensures continued performance and style. Let’s explore lasting benefits and fresh perspectives from our team.
Why bespoke shutter upgrades are a smart investment
There’s a prevailing assumption that updating shutters simply means a fresh coat of paint and new hinges. We’d challenge that view. In our experience, the homeowners who see the greatest long-term satisfaction are those who take the opportunity to move from a generic solution to one that’s been precisely designed for their space.
Off-the-shelf shutters are built to approximate dimensions. Bespoke shutters are built to your exact window, your specific style, and your home’s unique character. That distinction matters far more than most people realise until they see the difference in person.
Bespoke shutters enhance both property value and owner satisfaction, and the reasoning is straightforward. A shutter that fits perfectly insulates better, looks more refined, and lasts considerably longer than one that’s been trimmed or forced to fit. The design flexibility of a bespoke approach also means you can maximise light control, choose the ideal louvre size for your room’s proportions, and select materials that genuinely suit your lifestyle.
This isn’t about spending more for the sake of it. It’s about making a considered choice that rewards you every single day.
Enhance your home with professional shutter solutions
Updating your shutters is one of the most rewarding improvements you can make to your home, but the results are only as good as the quality of the solution you choose. If this guide has inspired you to go beyond a simple refresh and invest in something truly transformative, we’re here to help.
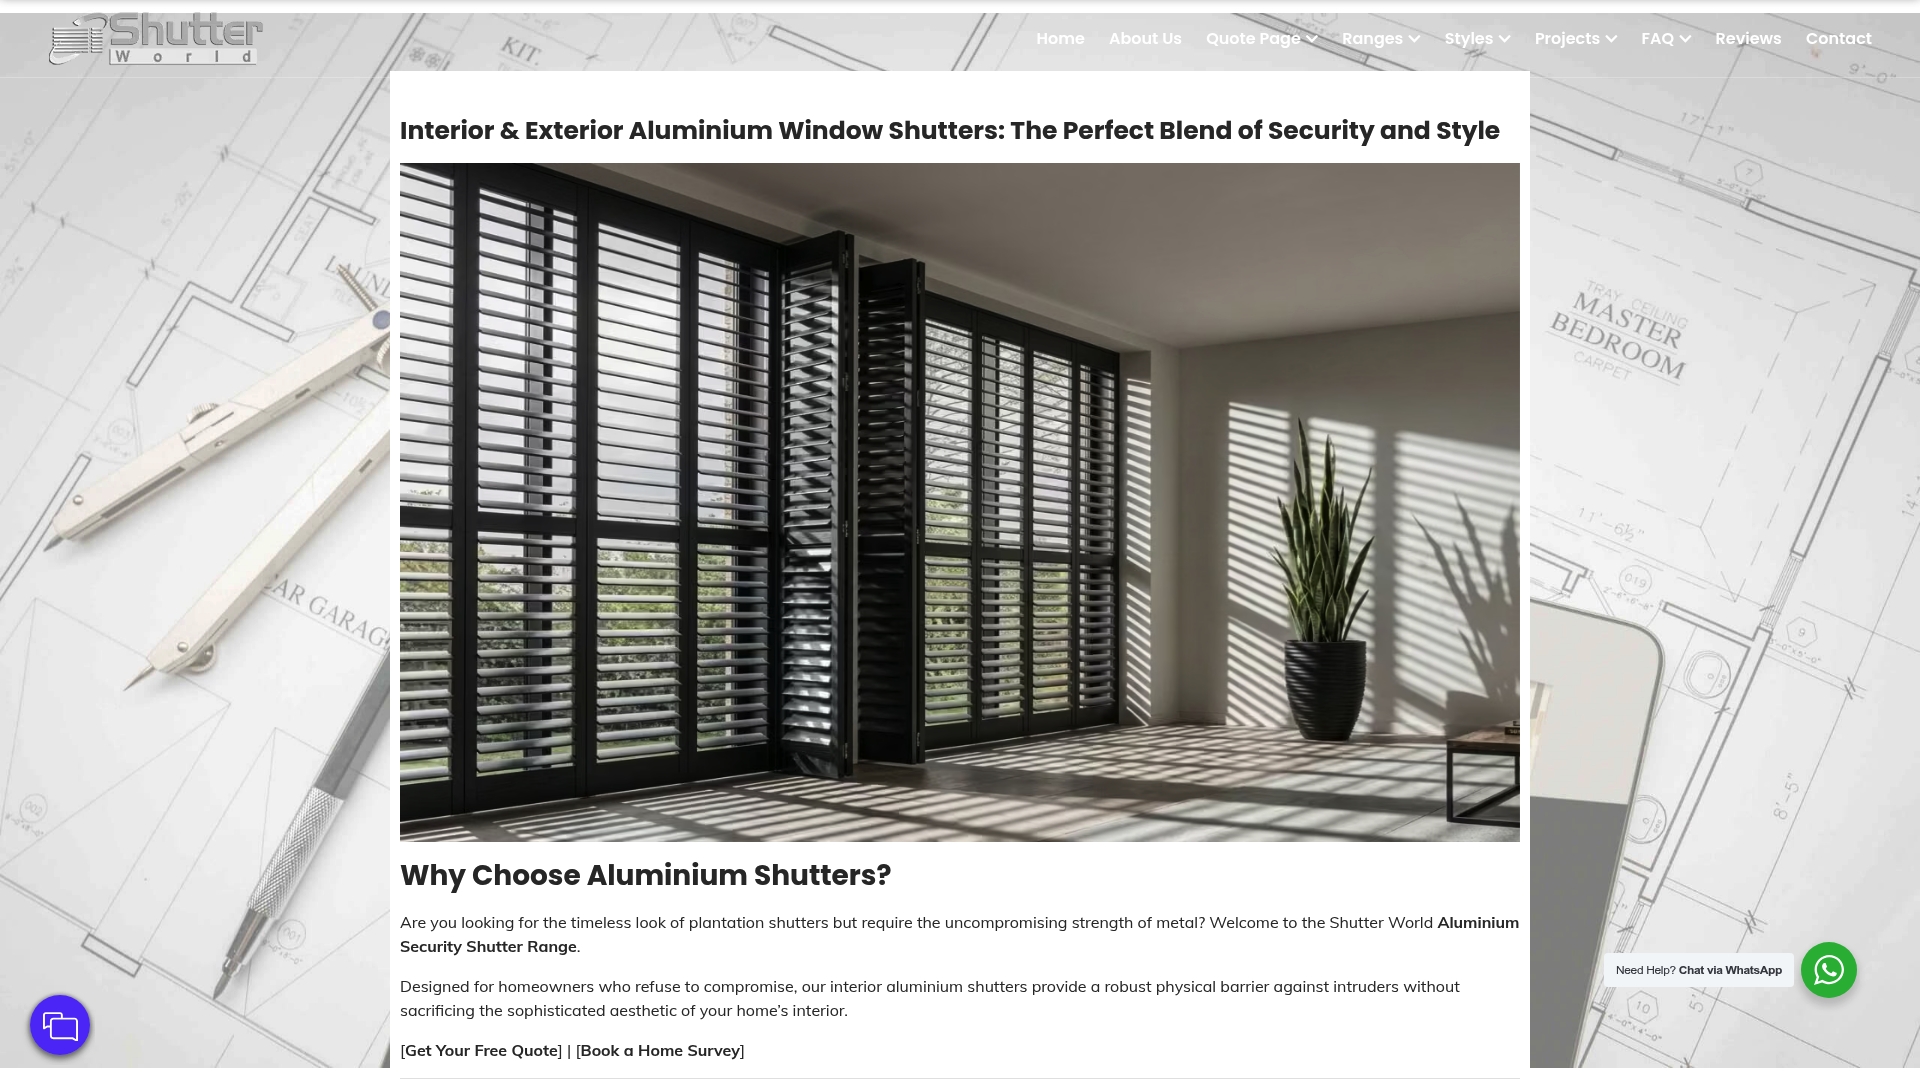
At Shutter World, our tailored internal shutters are crafted to fit your windows precisely, with a range of materials and finishes to suit every interior. Whether you’re refreshing a single room or updating your entire home, explore the full range of bespoke shutter benefits and discover what a difference a perfectly fitted shutter can make. Book your free in-home survey today and let our experts guide you every step of the way.
Frequently asked questions
What are the signs that my shutters need updating?
Look for signs such as cracks, fading paint, difficulty opening, and loose fittings. Outdated shutters can also compromise your home’s energy efficiency, so draught around the edges is another clear indicator.
Do I need specialist tools to update shutters?
Basic DIY tools are usually sufficient for a refresh, but precision measuring devices are strongly recommended for bespoke installations. Careful measuring is essential for effective shutter updates, particularly when ordering made-to-measure panels.
How often should I perform maintenance on updated shutters?
Check and clean your shutters every six months for best performance and longevity. Regular maintenance supports shutter efficiency and helps preserve both the finish and the thermal performance of your window coverings.
Can updating shutters help reduce energy bills?
Yes. Modern shutters designed for energy efficiency significantly reduce heat loss through windows. Interior shutters improve energy savings by creating an additional insulating layer between your room and the glass.
When should I call a professional for shutter upgrades?
If your windows require bespoke sizing, structural adjustments, or intricate installations, professional help is strongly advised. Bespoke installations often need expert assistance to achieve a flawless, lasting result.