
Shutter design mistakes every homeowner should avoid

TL;DR:
- Measurement mistakes are the most damaging shutter errors, often caused by taking measurements at only one point. Choosing louvre sizes that match the room’s scale and style is essential for visual harmony and architectural proportionality. Proper material selection and precise fitting ensure shutters function well and maintain their appearance over time.
Shutter design mistakes are errors in measurement, proportion, material selection, and installation that compromise both the look and function of your window shutters. The consequences range from louvres that bind and cannot rotate, to shutters that look visually wrong against the architecture of your home. Getting these decisions right matters because shutters are a long-term investment, not a seasonal accessory. This guide covers the critical errors homeowners make across measurement, louvre sizing, material choice, and fitting, with practical guidance at every stage to help you avoid them.
What are the most common shutter measurement mistakes?
Measurement errors are the single most damaging category of shutter design mistakes. Even a few millimetres of error lead to gaps, binding louvres, or shutters that simply cannot be fitted correctly. The problem is that most homeowners measure once, at a single point, and assume the window is perfectly square. It rarely is.
The first error is measuring width and height at only one point. Window frames bow, settle, and taper over time, particularly in older UK properties. You must measure width at the top, middle, and bottom of the recess, then use the smallest figure. Repeat the same process for height on the left, centre, and right.
The second, less obvious error involves clearance depth. Clearance depth mistakes cause louvres to bind because protruding window handles, sensors, or trickle vents block the louvre rotation after installation. The shutter may appear to fit during the initial survey but fail operationally once the louvres are angled. Measure clearance depth from the furthest protrusion, not just the recess depth, to prevent this entirely.
The third error is ignoring whether the frame is level. An out-of-level frame produces a shutter that sits visibly crooked, regardless of how well it is made. Use a spirit level across the sill and both sides before ordering.
Follow this sequence for accurate measuring:
- Measure width at top, middle, and bottom. Record the smallest figure.
- Measure height at left, centre, and right. Record the smallest figure.
- Identify every protrusion inside the recess, including handles, locks, and sensors.
- Measure clearance depth from the tip of the furthest protrusion to the frame edge.
- Check the frame is level with a spirit level. Note any deviation.
- Photograph the window from directly in front and from the side to capture depth context.
Shutterworld’s step-by-step measuring guide covers each of these points in detail and is worth reviewing before you order.
Pro Tip: If your window has a trickle vent or a multi-point locking handle, always treat these as the reference point for clearance depth, not the sill or frame edge.
How do louvre size and style affect the look of a room?
Louvre size carries the most visual weight in any shutter design. Shutter appearance depends on proportion and architectural compatibility, not just the colour or finish you choose. A louvre that is too large for a narrow window makes the whole shutter look cramped and oversized. A louvre that is too small on a tall sash window looks fussy and out of scale.
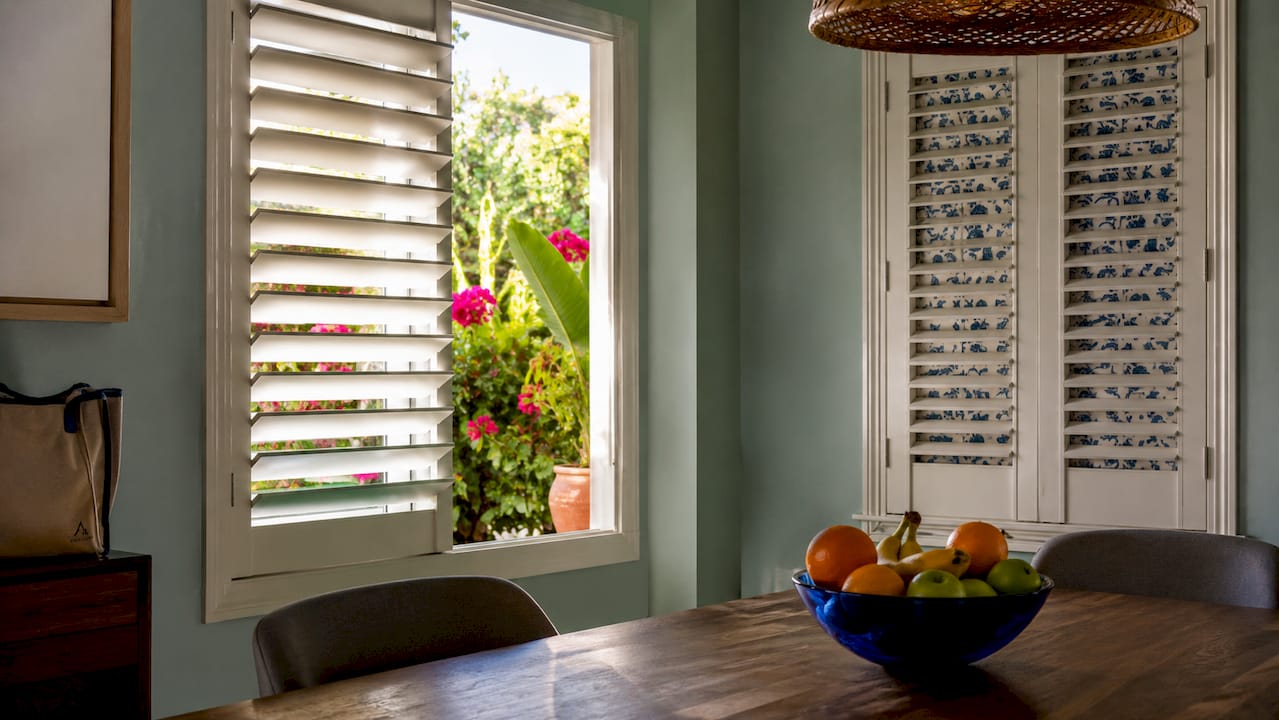
Louvre sizes that are too large for narrow windows are one of the most frequently observed styling errors. The standard louvre sizes available in the UK market run from 47mm through to 114mm. Smaller louvres suit cottage-style properties and narrower windows. Larger louvres work best on generous bay windows, full-height glazing, and contemporary interiors where clean lines are the priority.
| Louvre size | Best window type | Room style |
|---|---|---|
| 47mm | Narrow casements, small sash windows | Cottage, period, traditional |
| 63mm | Standard casements, medium sash windows | Classic, transitional |
| 76mm | Wide casements, bay windows | Contemporary, Georgian |
| 89mm | Large bay windows, full-height glazing | Modern, open-plan |
| 114mm | Floor-to-ceiling glazing, bifold doors | Minimalist, architectural |
Consistency across a home is equally important. Mismatched louvre sizes break visual continuity and undermine the cohesive design language you are trying to create. If rooms are visible to one another, the louvre size should match. A 63mm louvre in the sitting room and an 89mm louvre in the adjoining dining room will look like two different homes.
Style choices also need to reflect how you use the room. Café-style shutters, which cover only the lower half of the window, suit street-facing rooms where privacy matters more than full light control. Full-height shutters suit bedrooms and living rooms where you want the option to block light entirely. Tier-on-tier shutters offer the most flexibility, allowing the upper and lower panels to operate independently.
Pro Tip: When matching shutters to your interior, choose your louvre size by standing back from the window at normal viewing distance, not by measuring the window in isolation. Proportion is a visual judgement, not just a numerical one.
Does shutter material really matter for durability?
Material choice is where many homeowners make a costly long-term error. Using natural timber in wet zones causes swelling, warping, and paint peeling from moisture exposure. Bathrooms, kitchens, and utility rooms generate sustained humidity that solid timber simply cannot tolerate without significant maintenance.
PVC with an aluminium core is the correct material for any room with regular moisture exposure. It is fully waterproof, will not warp or swell, and requires nothing more than a wipe-down to maintain. Timber remains the premium choice for dry living spaces, bedrooms, and studies, where its warmth and natural grain add genuine character that synthetic materials cannot replicate.
Treating shutters as purely decorative panels without considering their functional environment is a mistake that shortens their lifespan considerably. A beautifully crafted timber shutter in a bathroom will begin to show signs of deterioration within a few years. The maintenance cost and visual disappointment that follow are entirely avoidable.
Here is a practical guide to material selection by room:
- Bathrooms and en suites: PVC with aluminium core. Fully waterproof and low maintenance.
- Kitchens: PVC with aluminium core or moisture-resistant MDF. Avoid solid timber near sinks or hobs.
- Living rooms and dining rooms: Hardwood or premium MDF. Both perform well in dry conditions.
- Bedrooms: Hardwood for warmth and character. MDF for a cost-effective alternative with a painted finish.
- Conservatories: Specialist conservatory-grade materials only. Standard timber and MDF are unsuitable for the temperature extremes involved.
Shutterworld’s Seattle range uses durable MDF with an extruded polypropylene coating, making it a practical choice for rooms where some humidity is present. The Montana range, crafted from premium hardwood, is designed for dry living spaces where aesthetics are the priority.
What shutter fitting mistakes affect operation and appearance?
Shutter fitting mistakes are often invisible until the shutters are in daily use. Improper fitting, including over-tightening fixings or poor levelling, results in warping, uneven appearance, and operational failures. These are not cosmetic issues. A shutter that binds, sticks, or sits at an angle will frustrate you every day.
Over-tightening is the most common fitting error. Screws driven too hard into the frame compress the timber or MDF, causing the panel to bow. The shutter may close correctly on the day of installation but begin to bind within weeks as the material responds to the pressure. Use the correct torque and always check panel alignment after fixing.
Wrong fixings compound the problem. Fixings that are too short pull out under the weight of the shutter. Fixings that are too long penetrate the wall cavity and create structural issues. Match fixing length and gauge to the frame material and wall construction.
Mid-rail alignment is a detail that separates a professional installation from an amateur one. On tier-on-tier and full-height shutters, the mid-rail must sit level across the full width of the window. A mid-rail that is even slightly off-level is immediately visible and cannot be corrected without refitting.
Follow this checklist before considering any installation complete:
- Confirm the frame is level on all four sides before fixing.
- Use the correct fixing type and length for the wall and frame material.
- Tighten fixings to the correct torque. Do not over-drive.
- Check panel alignment after each fixing, not just at the end.
- Verify louvre rotation is unobstructed through the full range of movement.
- Confirm the mid-rail sits level across the full window width.
- Test every panel for smooth opening, closing, and louvre adjustment.
Pro Tip: For plantation shutter installation, always leave a small expansion gap between the shutter panel and the frame. Timber and MDF both move with changes in temperature and humidity. A gap of 2–3mm prevents binding during seasonal changes.
Key takeaways
Avoiding shutter design mistakes requires accurate multi-point measurement, proportionate louvre sizing, material matched to the room’s environment, and fitting carried out with the correct hardware and attention to alignment.
| Point | Details |
|---|---|
| Measure at multiple points | Take width and height measurements at three positions each and use the smallest figure. |
| Account for clearance depth | Measure from the furthest protrusion, not just the recess, to prevent louvre binding. |
| Match louvre size to scale | Choose louvre size based on window width, room scale, and architectural style for visual harmony. |
| Select material by environment | Use PVC with aluminium core in wet rooms and hardwood or MDF in dry living spaces. |
| Fit with correct hardware | Use the right fixings, avoid over-tightening, and always verify level alignment before and after installation. |
What I have learned from years of shutter installations
The mistake I see most often is not the one most guides lead with. It is not a measurement error or a material choice. It is homeowners deciding on louvre size from a brochure photograph rather than from the actual window in front of them. A 89mm louvre looks magnificent in a showroom image of a Georgian townhouse. In a Victorian terrace with narrow sash windows, it looks completely wrong. Proportion is everything, and proportion cannot be judged from a photograph.
The second thing I have learned is that prioritising decoration over shutter functionality creates problems that no amount of good craftsmanship can fix after the fact. A shutter that cannot control light properly, or that warps because it was fitted in the wrong material for the room, is a failure regardless of how beautiful it looked on the day it was installed. Function and aesthetics are not in competition. The best shutter designs serve both without compromise.
My honest advice to any homeowner is this: spend as much time thinking about how you will use the shutters as you spend thinking about how they will look. Consider the light at different times of day, the humidity in the room across the seasons, and whether the louvre size feels right when you stand in the room rather than when you look at a specification sheet. Get a professional survey done before you order anything. The cost of correcting a fitting mistake or replacing a warped panel far exceeds the cost of getting it right the first time.
For unusually shaped windows, the stakes are even higher. Arched, angled, and bay windows require bespoke engineering that standard measuring approaches cannot accommodate. Shutterworld’s guide on measuring unusually shaped windows is one of the most thorough resources available for homeowners facing that challenge.
— Ken
Shutterworld’s bespoke shutter service
Every shutter design mistake covered in this guide is preventable with the right expertise behind you.
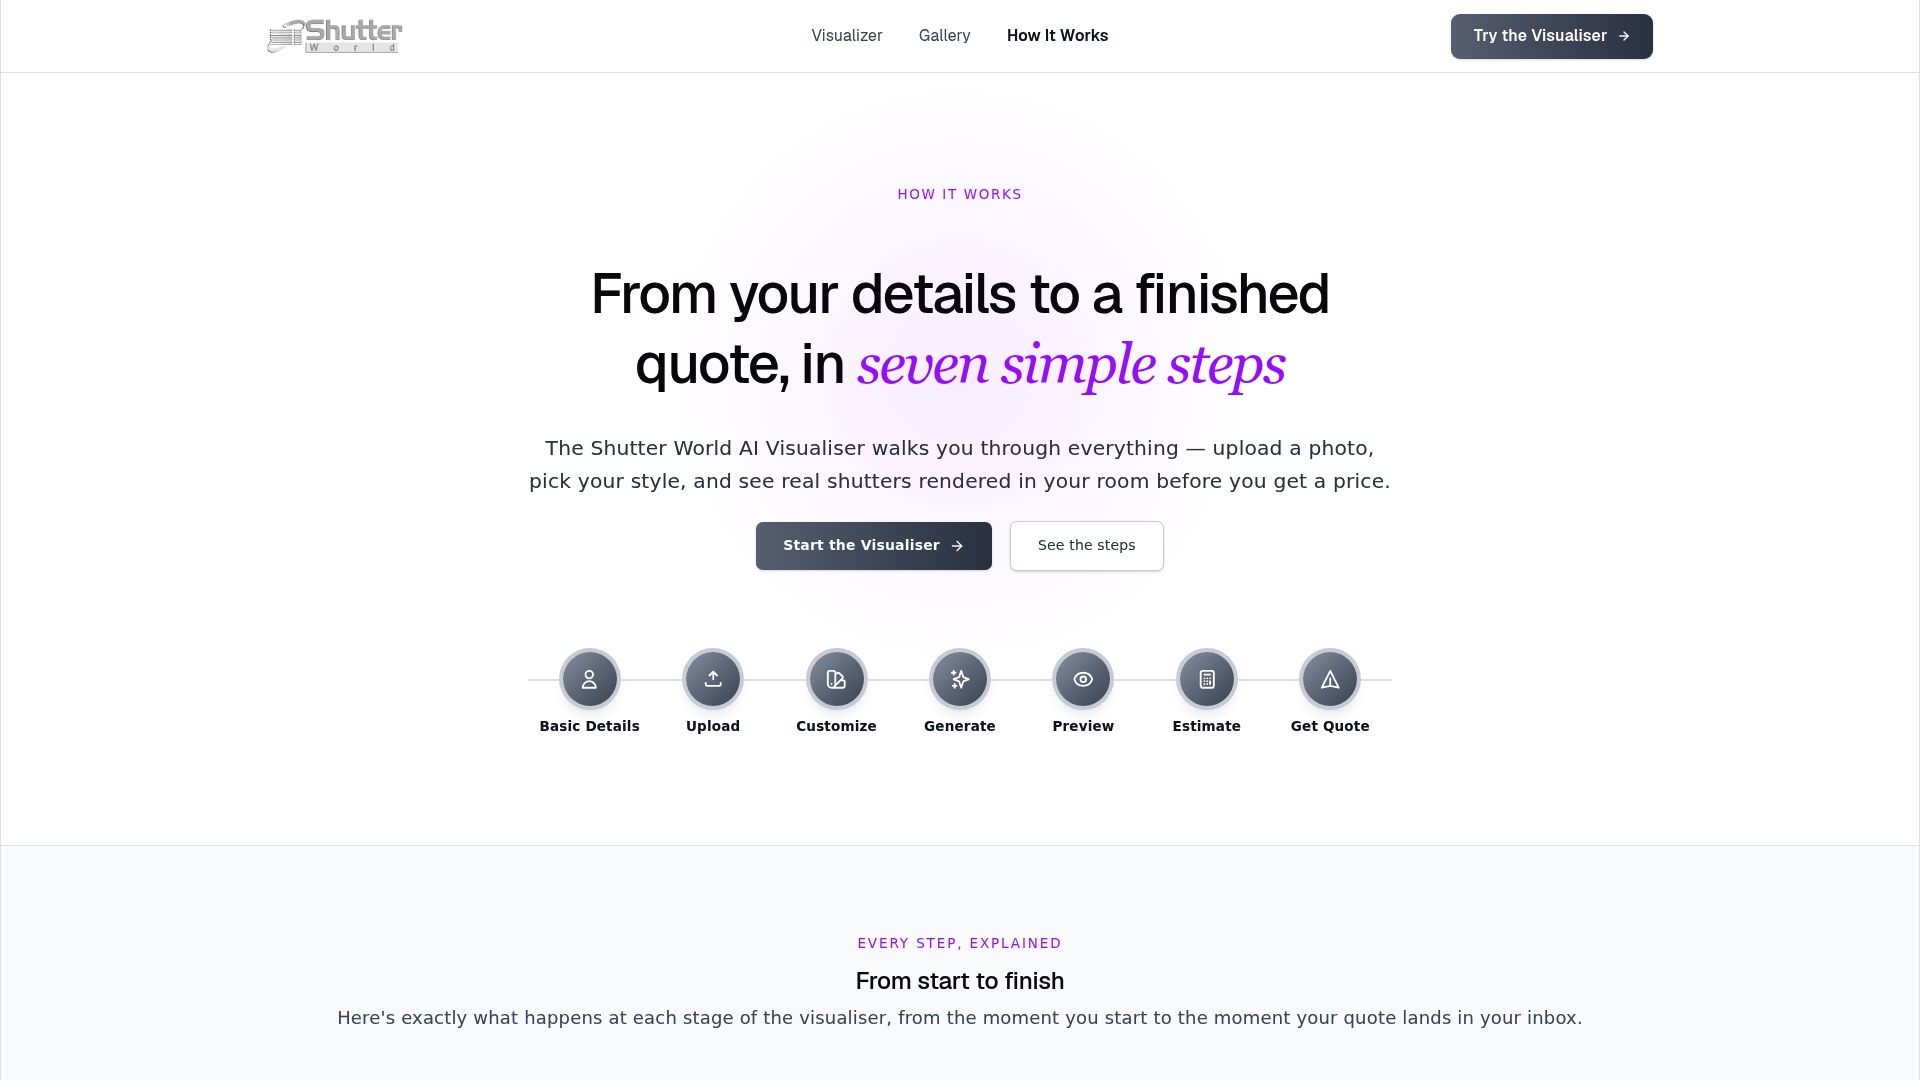
Shutterworld has spent over 25 years helping UK homeowners get shutters right the first time. From the initial survey through to professional installation, every stage is managed by specialists who understand measurement, proportion, material, and fitting at a level that protects your investment. Whether you are looking for plantation shutters for a standard window or a bespoke solution for a challenging architectural shape, Shutterworld’s team brings the technical knowledge and craftsmanship to deliver a result that looks and performs exactly as it should. Book a free in-home survey and remove the guesswork from your shutter project entirely.
FAQ
What is the most common shutter measurement mistake?
Measuring width and height at only one point is the most common error. Window frames are rarely perfectly square, so measuring at three positions and using the smallest figure is the correct approach.
How do I know which louvre size is right for my window?
Match louvre size to window width and room scale. Narrow windows suit 47mm or 63mm louvres, while large bay windows and full-height glazing work best with 89mm or 114mm louvres.
Can I use timber shutters in a bathroom?
Solid timber is not suitable for bathrooms. Sustained humidity causes swelling, warping, and paint peeling. PVC with an aluminium core is the correct material for wet rooms.
What causes shutters to bind after installation?
Binding is most often caused by clearance depth errors, where protruding handles or sensors block louvre rotation, or by over-tightened fixings that bow the panel. Both are preventable with accurate pre-installation measurement and correct fitting technique.
Should louvre sizes match throughout my home?
Consistent louvre sizes across rooms that are visible to one another maintain a cohesive interior design. Mismatched sizes in adjoining spaces break visual continuity and undermine the overall aesthetic.