
Shutter fitting mistakes: the complete DIY guide

TL;DR:
- Shutter fitting mistakes often stem from improper measurement, material choice, or installation technique, leading to warping, sagging, or structural damage. Accurate multi-point measurements, suitable moisture-resistant materials, and careful framing are essential for a durable, well-fitting shutter. Proper preparation and cautious installation prevent common errors and ensure a professional-quality finish.
Shutter fitting mistakes are defined as errors in measurement, material selection, or installation technique that prevent shutters from operating correctly, fitting flush, or lasting their expected lifespan. These mistakes range from measuring a window only once to choosing softwood timber in a damp bathroom, and every one of them costs time, money, and frustration. A poorly fitted shutter does not just look wrong. It warps, sags, rattles, and in some cases causes structural damage to the window frame itself. The good news is that every common error is entirely preventable with the right knowledge, the right tools, and a little patience before you pick up a drill.
What are the most frequent measurement mistakes in shutter fitting?
Measurement errors are the single most common cause of shutter fitting challenges, and they almost always come down to one of three oversights: measuring in the wrong place, measuring only once, or ignoring the physical obstacles inside the recess.
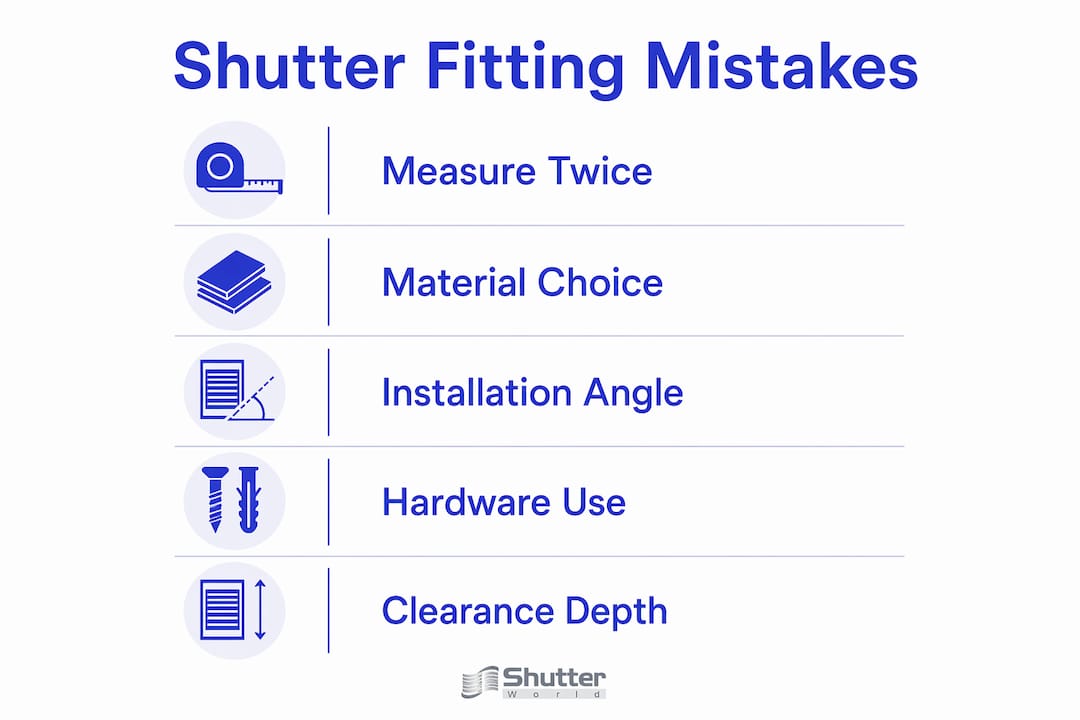
The industry standard is to measure at three points: top, middle, and bottom for width, and left, centre, and right for height. Windows in older UK homes are rarely perfectly square, so the dimensions will differ across these points. The rule is to use the smallest measurement. This prevents the shutter panel from binding against the frame when it is closed.
There are three distinct measurement types you need to understand before ordering:
- Reveal depth refers to the distance from the front of the window frame to the glass. This determines whether a shutter frame will sit flush or protrude.
- Inside recess is the full internal width and height of the window opening, used for shutters mounted within the frame.
- Overall window dimensions include the surrounding wall or architrave, used when shutters are face-mounted outside the recess.
Confusing these three is one of the most damaging shutter installation mistakes a DIY fitter can make, because the resulting shutter will be the wrong size entirely.
One frequently overlooked measurement is clearance depth. Ignoring window handles or protrusions when measuring the recess depth means louvres cannot rotate fully, which defeats the purpose of an adjustable shutter. Measure from the front of the frame to any handle, stay, or restrictor fitting, and confirm that your chosen louvre width can open to at least 90 degrees within that space.
For non-standard or unusually shaped windows, a metal tape measure is more reliable than a laser measure, because laser tools struggle with angled or irregular surfaces. Shutterworld’s guide for unusually shaped windows covers the specific techniques needed for arched, triangular, and bay window openings.
Pro Tip: Always measure twice, record every figure immediately, and cross-reference your numbers against a step-by-step measuring guide before placing your order. A two-minute check at this stage prevents a two-week wait for a replacement panel.
How do material and hardware choices influence shutter fitting mistakes?
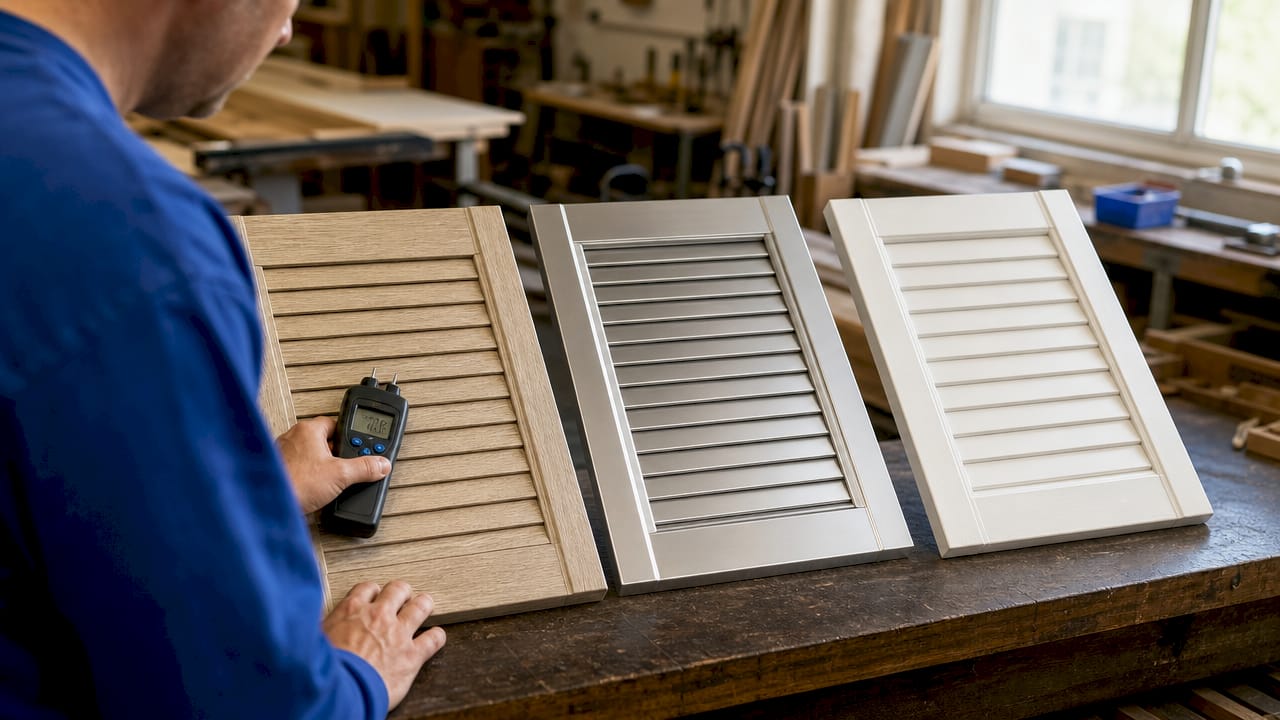
Choosing the wrong material is a shutter design mistake that does not reveal itself immediately. It shows up six months later as a warped panel, a sagging frame, or a louvre that no longer sits level.
The most critical factor in timber shutters is moisture content. Timber should be kiln-dried below 12% moisture content before installation. Moisture above that threshold increases warping risk by 70%, which means a shutter that fits perfectly on day one can bind, gap, or twist within a single season. Pine is the most common budget choice, but it is also the most prone to movement. Kiln-dried cedar and hardwoods offer significantly better resistance to decay and dimensional change over time.
Key material considerations for avoiding shutter fitting challenges:
- Joinery method matters. Mortise-and-tenon joints are stronger and more moisture-resistant than butt joints, which fail 40% faster under the same conditions. A frame built with mortise-and-tenon construction will hold its shape through seasonal humidity changes.
- Hardware thickness is non-negotiable. Hinges below 0.090 inches in thickness allow shutter panels to sag over time, pulling the frame out of square and causing the louvres to misalign.
- Stainless steel or treated hardware is the correct choice for any shutter exposed to moisture, including those in conservatories or near external doors.
- Thermal expansion allowance must be factored in. Timber moves with temperature. Fitting a panel too tightly against the frame leaves no room for seasonal expansion, and the shutter will bind in summer.
“Moisture control and material conditioning are foundational to durable shutter performance. Skipping this step is the most expensive shortcut a homeowner can take.” Avoiding Common Mistakes in Louvered Shutter Design
Pro Tip: In kitchens, bathrooms, or any room with regular humidity, choose aluminium window shutters or PVC over timber. PVC and aluminium shutters in wet zones prevent the warping that timber suffers in humid environments, and they require virtually no maintenance.
What are typical shutter installation errors and their practical solutions?
Even with perfect measurements and quality materials, the installation phase introduces its own set of shutter installation risks. Most of them are avoidable with the right preparation.
- Failing to check the frame is plumb. Before fixing a single screw, hold a spirit level against the window frame on both the vertical and horizontal planes. An out-of-plumb frame means the shutter will hang at an angle even if the panel itself is perfectly square. Shimming the frame before installation corrects this.
- Skipping pilot holes. Driving screws directly into timber or uPVC frames without pilot drilling causes the material to split or the screw to strip. Using a spirit level and pilot drilling every fixing point prevents uneven reveals and stripped fittings that are difficult to repair.
- Incorrect louvre orientation. For outdoor shutters, louvres must angle downward and away from the house when closed. This sheds rainwater away from the wall rather than directing it inward. Indoor shutters follow a different convention, with louvres typically angled to direct light upward toward the ceiling.
- Mounting flush against the wall. Exterior shutters mounted flush against the wall trap moisture between the shutter and the surface, leading to rot and structural damage over time. A standoff of at least 6mm allows airflow behind the panel and accommodates thermal expansion.
- Rushing the hanging process. Panels hung quickly without checking alignment after each fixing point accumulate small errors that compound into a shutter that will not close properly.
| Common error | Practical solution |
|---|---|
| Frame not plumb | Use a spirit level and shim before fixing |
| No pilot holes | Pre-drill every fixing point to prevent splitting |
| Louvres facing wrong way | Check orientation against manufacturer’s guide before fixing |
| Flush wall mounting | Create a 6mm standoff for airflow and expansion |
| Panels misaligned | Pre-hang off-site to test fit before final installation |
Pro Tip: Pre-hanging shutters off-site on a temporary frame lets you test the fit, adjust hinge positions, and plane any stiles that are binding before you commit to the final installation. This single step eliminates the majority of on-site fitting problems.
How do design mistakes contribute to poor shutter fitting and performance?
Shutter design mistakes are subtler than measurement errors, but they are just as damaging to the finished result. The most common is choosing a shutter style that does not suit the window shape or room proportions.
Mid-rail misalignment with window transoms is a classic example. When the horizontal dividing rail of a shutter does not align with an existing glazing bar or transom, the visual result looks cluttered and unresolved. Aligning the mid-rail with the window’s own horizontal features creates a clean, considered appearance that looks intentional rather than accidental.
Frame type selection also affects fit. An L-frame suits windows with a deep, clean reveal. A Z-frame is designed for windows where the shutter needs to cover a slight gap or uneven edge. Choosing the wrong frame type leaves visible gaps around the perimeter that no amount of adjustment will correct.
| Shutter frame type | Best suited to |
|---|---|
| L-frame | Deep, clean reveals with consistent depth |
| Z-frame | Shallow reveals or uneven frame edges |
| Solid frame | Bay windows and architectural features |
Louvre width is another design decision with real fitting consequences. Wide louvres, typically 89mm or 114mm, suit larger windows and rooms with generous proportions. Fitting them to a small cottage window creates a heavy, blocked appearance and can restrict the amount of light the shutter admits when open. For smaller windows, 63mm louvres provide a more balanced result.
For guidance on matching shutter styles to your home’s architecture, Shutterworld’s resource on incorporating shutters in design covers the key decisions in detail.
What practical tips should DIY enthusiasts know to avoid fitting errors?
A successful DIY shutter installation depends on preparation as much as skill. The following checklist covers the practical steps that separate a clean, lasting result from one that needs reworking within a year.
- Acclimatise your materials. Bring timber shutters into the room where they will be installed at least 48 hours before fitting. This allows the wood to adjust to the room’s temperature and humidity, reducing the risk of post-installation movement.
- Use sharp, correct-sized tools. Dull saw blades cause splintering at cut edges, which affects how tightly joints close. The wrong drill bit size for your hinge screws creates loose fixings from day one.
- Follow the manufacturer’s instructions precisely. Every shutter system has specific requirements for hinge placement, frame fixing, and louvre tensioning. Deviating from these, even slightly, introduces the fitting problems the design was engineered to prevent.
- Check the essential installation tools list before starting. Missing a single tool mid-installation leads to improvised fixes that compromise the result.
- Do not rush the final alignment. Once panels are hung, open and close them repeatedly while checking for binding, gaps, and louvre alignment. Small adjustments at this stage take minutes. The same adjustments after the frame is fully fixed take hours.
Pro Tip: If louvres rattle after installation, the tension on the tilt rod is too loose. Most shutter systems include a tension adjustment screw at the top or bottom of the tilt rod. A quarter-turn tightening is usually sufficient to eliminate the rattle without making the louvres stiff to operate.
Key takeaways
Shutter fitting mistakes are prevented by precise measurement at multiple points, correct material selection for the environment, and methodical installation using the right tools and techniques.
| Point | Details |
|---|---|
| Measure at three points | Take width and height measurements at top, middle, and bottom, then use the smallest figure. |
| Match materials to environment | Use kiln-dried hardwood or aluminium in humid rooms to prevent warping and premature failure. |
| Use mortise-and-tenon joinery | This joint type resists moisture-induced failure far better than butt joints and extends frame life. |
| Create a standoff for exterior shutters | A gap behind the panel prevents moisture entrapment and allows for thermal expansion. |
| Pre-hang before final fixing | Testing the fit off-site identifies binding, misalignment, and hinge issues before they become permanent. |
Why I think most shutter fitting problems are self-inflicted
Having worked with hundreds of homeowners on shutter projects across the UK, the pattern I see most often is not incompetence. It is impatience. Someone measures once, orders immediately, and discovers on installation day that the window is 8mm narrower at the bottom than at the top. The shutter does not fit. The panel goes back. The wait begins again.
The second most common pattern is material optimism. A homeowner chooses a beautiful painted pine shutter for their en-suite bathroom because it looks right in the showroom. Twelve months later, the louvres are bowing and the frame has swollen shut. Pine in a steam-heavy room is not a design choice. It is a countdown to a replacement.
What I have found actually works is treating the preparation phase as the installation itself. If your measurements are right, your material suits the environment, and your frame is plumb before you start, the physical hanging of the shutter is almost straightforward. The mistakes happen in the hour before you pick up the drill, not during the drilling itself.
My honest advice to any DIY enthusiast: spend twice as long on the measuring and planning stage as you think you need to. Consult Shutterworld’s bespoke measuring guide before ordering anything. And if your windows are non-standard, arched, or bay-fronted, consider whether a professional survey is worth the cost before you commit to a panel size. It almost always is.
— Ken
Get a flawless fit with Shutterworld’s bespoke shutter service
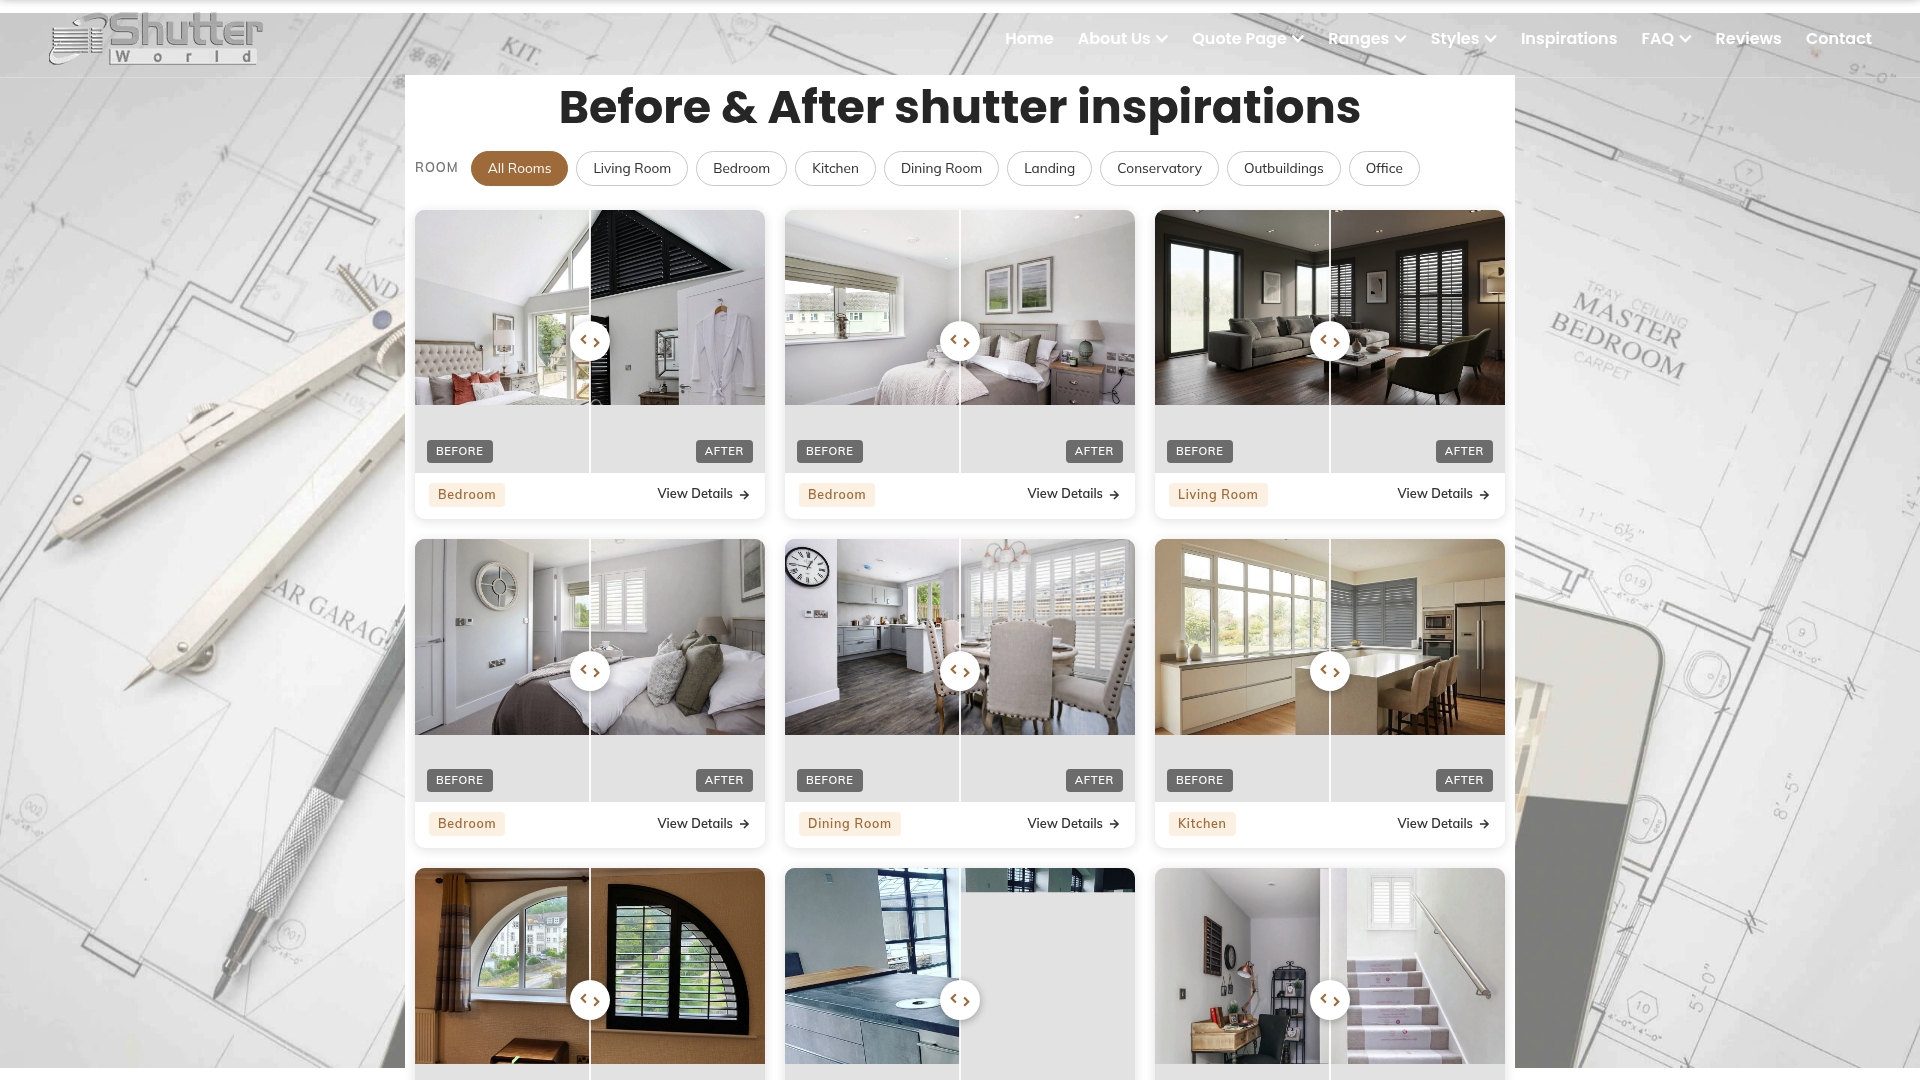
Avoiding shutter fitting mistakes is straightforward when you have the right support from the start. Shutterworld’s plantation shutter installation service includes a professional in-home survey, precise made-to-measure ordering, and expert fitting by experienced installers who handle everything from standard sash windows to complex bay and arched openings. Every installation is backed by product and workmanship guarantees, so you are protected long after the fitters leave. If you are ready to move from DIY uncertainty to a guaranteed result, explore Shutterworld’s bespoke interior shutters and book your free consultation today.
FAQ
What is the most common shutter fitting mistake?
The most common error is measuring a window only once and at a single point. Windows in older properties are rarely square, so measurements must be taken at three positions across both width and height, with the smallest figure used for ordering.
How do I know if my shutter material is suitable for a bathroom?
Timber shutters, particularly pine, are unsuitable for bathrooms due to humidity-driven warping. PVC or aluminium shutters are the correct choice for wet zones, as they resist moisture without swelling or distorting.
Why are my shutters not closing properly after installation?
The most likely causes are an out-of-plumb frame, a panel ordered to the wrong measurement, or hinges that are too thin and have allowed the panel to sag. Check the frame with a spirit level and inspect hinge thickness before adjusting.
What does pre-hanging shutters off-site mean?
Pre-hanging means assembling and hanging the shutter on a temporary frame or workbench before the final installation, allowing you to test the fit, adjust hinge positions, and identify any binding or misalignment before committing to the wall fixing.
How much clearance depth do I need for louvres to open fully?
Measure from the front of the window frame to the nearest obstruction, such as a handle or window stay. The clearance must allow the louvres to rotate to at least 90 degrees. If the depth is insufficient, choose a narrower louvre width or a face-mounted frame outside the recess.