
Shutter Fitting Tips for Precise Bespoke Installation

Every West Yorkshire homeowner knows that fitting bespoke shutters to unique architectural windows is a true british challenge. Precision matters, especially when dealing with curved frames, bay windows, or special period features. A single measurement error can impact the final result and even cost extra repairs. Over 60 percent of bespoke shutter complaints stem from poor initial fitting and alignment. This guide delivers practical steps for achieving flawless results, helping you transform your windows into stunning focal points that combine style and function.
Table of Contents
- Step 1: Prepare And Measure Your Window Space Accurately
- Step 2: Choose Suitable Materials For Your Window Shape
- Step 3: Position And Secure Fixing Points Professionally
- Step 4: Install And Adjust Shutter Panels Correctly
- Step 5: Verify Fit And Test Operation For Quality Results
Quick Summary
| Main Insight | Detailed Explanation |
|---|---|
| 1. Measure accurately and thoroughly | Use precise tools and measure from multiple points to ensure the best fit for shutters. |
| 2. Choose the right materials | Select materials based on window shape and environmental conditions for optimal durability. |
| 3. Secure fixing points effectively | Identify strong mounting locations and ensure proper alignment during installation. |
| 4. Ensure precise panel installation | Mount and adjust panels carefully to achieve smooth operation and aesthetic appeal. |
| 5. Conduct a thorough final check | Verify fit and functionality under various conditions to ensure long-lasting performance. |
Step 1: Prepare and measure your window space accurately
Accurately measuring your window space is fundamental to achieving a precision bespoke shutter installation. Before diving into measurements, gather essential tools such as a metal measuring tape, pencil, notepad, and step ladder to ensure comprehensive and reliable data collection.
When preparing to measure, start by carefully assessing your unique window configuration. For standard rectangular windows, you will want to measure the width at three distinct points horizontal points from left to right top middle and bottom of the window frame. Record these measurements precisely noting any variations. Always measure in millimetres which provides greater accuracy compared to centimetres or inches. Pay special attention to potential irregularities such as slightly uneven frames or architectural quirks that might impact your final shutter fit.
For bay windows or more complex architectural shapes, professional precision becomes even more critical. You will want to capture detailed measurements including precise angles and depths which can significantly influence your bespoke shutter design. Taking multiple measurements helps compensate for subtle architectural nuances that could compromise an otherwise perfect installation.
Top Tip: Always measure twice and record your measurements immediately to prevent potential errors during the shutter fitting process.
Step 2: Choose suitable materials for your window shape
Selecting the right materials for your bespoke shutters requires careful consideration of your specific window characteristics and architectural style. Understanding how different materials perform across various window configurations will help you make an informed decision that balances aesthetics functionality and longevity.
For standard rectangular windows hardwood or MDF materials often provide excellent versatility. However when dealing with special shaped windows or unique architectural features your material selection becomes significantly more nuanced. Hardwood offers timeless elegance and robust durability particularly in period properties with intricate window designs. Moisture resistant materials like polypropylene become crucial in areas with high humidity such as bathrooms or kitchens where traditional wooden shutters might warp or degrade.
Your window shape will substantially influence material selection. Arched windows require flexible materials that can be precisely engineered to follow unique curvatures while maintaining structural integrity. Bay windows demand materials with exceptional dimensional stability to ensure seamless fitting across multiple angular sections. Contemporary homes might benefit from sleek aluminium or composite materials that provide a minimalist aesthetic and superior thermal performance.
Top Tip: Always consult professional shutter specialists who can provide tailored material recommendations based on your specific window architecture and environmental conditions.
Here is a comparison of common window types and recommended materials for bespoke shutters:
| Window Type | Ideal Material | Key Benefit | Common Challenge |
|---|---|---|---|
| Rectangular | MDF or Hardwood | Versatile and durable | Minimal |
| Arched | Flexible Hardwood | Maintains shape and elegance | Curvature accommodation |
| Bay | Stable Composite | Seamless fitting across angles | Precise alignment needed |
| Humid Area Windows | Polypropylene | Moisture resistance | Preventing warping |
Step 3: Position and secure fixing points professionally
Professionally positioning and securing fixing points is crucial for achieving a flawless shutter installation that guarantees long lasting performance and aesthetic appeal. This stage requires meticulous attention to detail and a strategic approach to ensure your shutters are mounted securely and precisely.
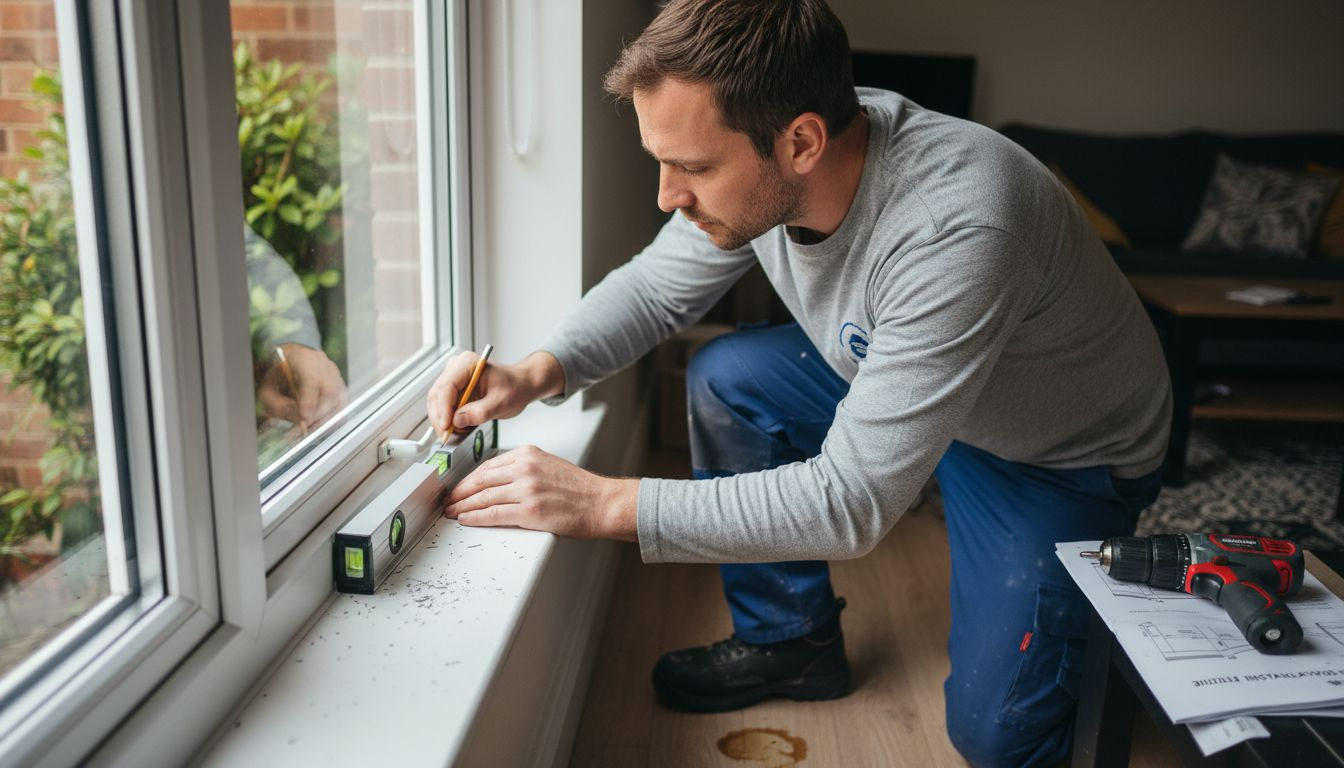
Begin by identifying the most robust mounting locations within your window frame. For windows with unique architectural configurations, the fixing points become even more critical. Traditional rectangular windows typically offer straightforward mounting options along the frame edges. However complex window shapes demand more nuanced approaches. Consider using robust wall anchors or timber fixings depending on your wall construction material and the weight of your chosen shutter design.
Precision is paramount when marking and drilling fixing points. Use a spirit level to ensure absolute horizontal and vertical alignment preventing potential issues with shutter operation and appearance. Pay close attention to the depth of your drill holes and select appropriate screw lengths that provide secure attachment without penetrating through delicate window frame structures. Professional installers recommend maintaining consistent spacing between fixing points to distribute weight evenly and minimise potential stress on individual mounting locations.
Top Tip: Always test fit your fixing points before final installation and use a magnetic stud finder to locate the most stable mounting surfaces.
Step 4: Install and adjust shutter panels correctly
Successfully installing shutter panels requires precision attention to detail and a systematic approach that ensures smooth functionality and aesthetic perfection. The installation process demands careful handling and strategic placement to achieve a professional finish that complements your interior design.
Start by carefully mounting each panel according to professional installation guidelines. Begin with positioning the first panel ensuring it is perfectly vertical using a spirit level. Attach the panel using pre marked fixing points and secure hinges with appropriate screws. When working with multiple panels pay special attention to the hinge alignment and ensure each panel moves smoothly without obstruction. Test the movement of each panel individually before final securing to guarantee seamless operation.
Adjustment is a critical phase of shutter panel installation. Fine tune the panel alignment by making incremental adjustments to the hinges allowing for precise positioning. Check that the panels close flush against each other with minimal gaps and that the louvres open and close smoothly. For bay windows or non standard window configurations you might need to make more nuanced adjustments to accommodate the unique architectural features. Take your time during this process as proper alignment will significantly impact the overall performance and appearance of your shutters.
Top Tip: Keep a small spirit level and adjustable wrench nearby during installation to make real time corrections and ensure perfect panel alignment.
Step 5: Verify fit and test operation for quality results
The final stage of your shutter installation involves a comprehensive verification process that ensures your bespoke shutters meet the highest standards of precision functionality and aesthetic performance. This critical evaluation will determine the overall quality and long term reliability of your installation.
Begin by conducting a thorough operational assessment of your newly installed shutters using a systematic approach. Open and close each panel multiple times checking for smooth unimpeded movement. Pay close attention to the louvre alignment ensuring they remain parallel and operate synchronously. Test the panels ability to hold their position at various angles without drooping or shifting. Check that each panel fits snugly within the window frame with minimal gaps and that the hinges support the panels weight without any visible strain or misalignment.
Precision is paramount during this verification stage. Use a spirit level to confirm the vertical and horizontal alignment of each panel. Listen for any unusual sounds during operation which might indicate potential issues with hinge tension or panel fitting. Gently apply pressure to different points of the shutter panels to assess structural integrity and stability. If you detect any slight irregularities make incremental adjustments to the hinges and mounting points to achieve a perfect fit. Remember that a truly professional installation is characterised by seamless smooth and silent operation.

Top Tip: Perform your final verification check under different lighting conditions to identify any subtle misalignments or imperfections that might not be immediately apparent.
For quick reference, here’s a summary of essential verification checks for shutter installation quality:
| Verification Check | Purpose | Recommended Tool |
|---|---|---|
| Panel Movement | Ensures smooth opening and closing | Manual operation |
| Louvre Alignment | Maintains even appearance | Visual inspection |
| Vertical and Horizontal Level | Guarantees precise fitting | Spirit level |
| Hinge Tension | Prevents drooping or misalignment | Gentle manual test |
Achieve Flawless Shutter Fitting with Expert Bespoke Solutions
Precision in measuring and fitting bespoke shutters can be challenging, especially with unusual window shapes that require meticulous attention to detail and specialised materials. If you are seeking assurance that every panel aligns perfectly and your shutters function smoothly without gaps or misalignment, you are not alone. Many homeowners strive for that perfect balance of style and practical performance that only expertly crafted shutters can provide.
At Shutter World, we understand the complexities involved in positioning fixing points, choosing the right materials, and adjusting panels for optimal fit. Serving Ossett and the wider West Yorkshire area, our specialists cater to all window styles, including arched, bay, and bespoke shapes. Benefit from over 25 years of experience, a full service from in-home surveys to professional installation, and products engineered for durability and elegance.

Transform your home with custom shutters designed to meet your unique needs. Explore the finest selection of materials and styles with confidence by visiting our West Yorkshire shutters Archives | Shutter World. If you are interested in the distinctive plantation shutter style, check out our Ossett Plantation shutters Archives | Shutter World. For comprehensive answers and guidance, the Shutter World FAQ page offers expert insight. Begin your bespoke shutter journey now with trusted service that ensures a perfect fit every time.
Frequently Asked Questions
How can I accurately measure my window space for bespoke shutters?
To accurately measure your window space, use a metal measuring tape and record the width at three horizontal points: top, middle, and bottom. Ensure to measure in millimetres for better precision and note any irregularities that could affect the fit.
What materials should I choose for different types of windows?
Select materials that suit your specific window shape and environment. For arched windows, use flexible hardwood to maintain the curvature, while humid areas should utilise moisture-resistant materials like polypropylene to prevent warping.
How do I position and secure fixing points for my shutters?
Position fixing points based on the most robust areas of your window frame. Use a spirit level to ensure proper alignment, and maintain consistent spacing between points to ensure even weight distribution and stability of the shutters.
What steps should I take to install shutter panels correctly?
Begin by mounting the first shutter panel, ensuring it is perfectly vertical with a spirit level. Secure hinges using pre-marked fixing points and test the movement of each panel before finalising the installation to ensure smooth operation.
How do I verify the fit and functionality of my newly installed shutters?
Verify the fit by opening and closing each panel to ensure smooth movement. Check the louvres for proper alignment and use a spirit level to confirm vertical and horizontal adjustments, making minute corrections as needed for a professional finish.
Recommended
- Create a Stylish Space: How to Install Shutters Successfully
- How to Measure Shutters: A Certain Guide for 2025 Homes
- 7 Essential Shutter Installation Tools Every Home Needs | Shutter World
- Complete Guide to Advantages of Custom Fit Shutters | Shutter World
- A Guide to Installing White Quarter Round Trim