
Shutter louver adjustments: your DIY guide

Shutter louver adjustments
TL;DR:
- Shutter louver adjustments involve tightening, loosening, or realigning the slats to control light and privacy. Homeowners can often fix shutters with basic tools and avoid costly repairs by following proper steps. Proper hinge checks, incremental tension adjustments, and matching replacement parts are essential for long-lasting, functional shutters.
Shutter louver adjustments are defined as the process of tightening, loosening, or realigning the individual slats on interior window shutters to control light and privacy. Most homeowners never realise that a few simple tweaks, using tools already in the kitchen drawer, can restore a shutter to perfect working order. The correct industry term for these slats is “louvres,” though “louvers” is widely used and understood. This guide covers the tools you need, the step-by-step tension and alignment fixes, and the most common mistakes to avoid, so your shutters perform beautifully for years to come.
What tools do you need for shutter louver adjustments?
The right tools make the difference between a clean fix and a cracked louvre. Gather everything before you start, because stopping mid-job to hunt for a screwdriver is how parts get lost or damaged.
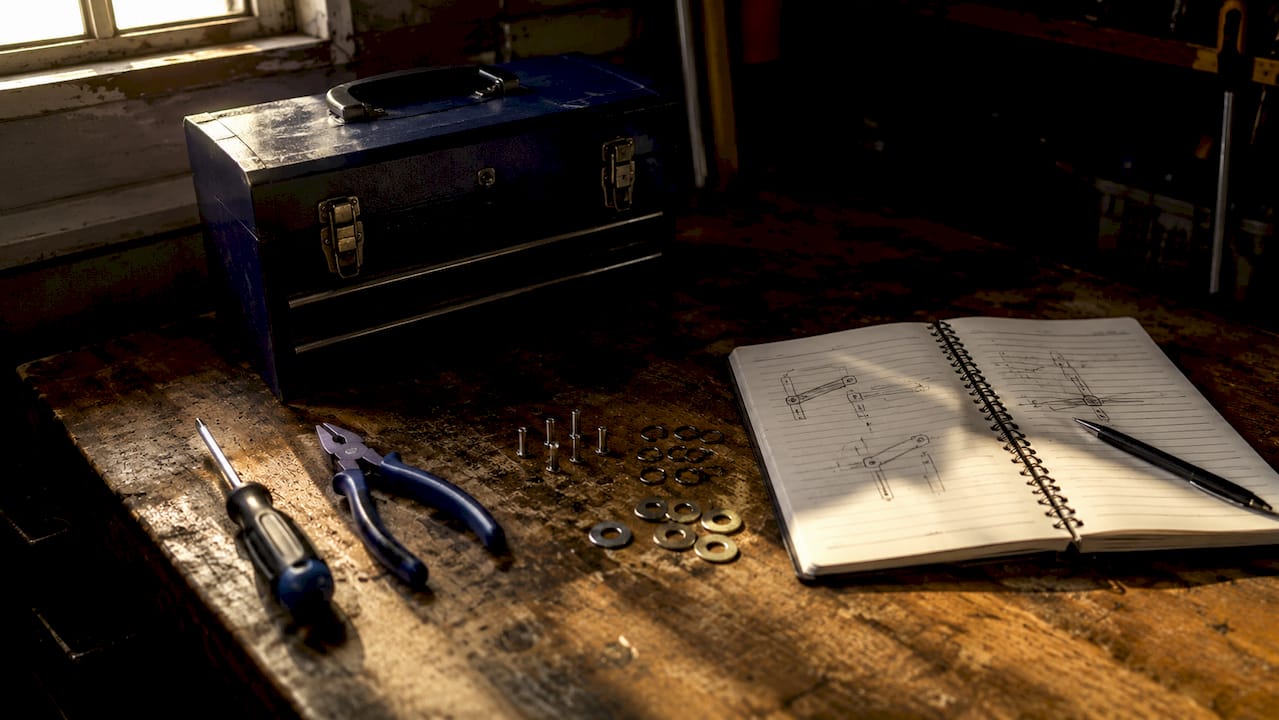
Essential tools and their functions:
| Tool or component | Function |
|---|---|
| Phillips head screwdriver | Tightens or loosens tension screws near hinges |
| Needle-nose pliers | Removes and installs tension pins and C-clips |
| Razor knife | Scores paint seals around louvre pins |
| Flashlight | Illuminates hinge slots and pin locations |
| Pliers | Grips components during removal |
| Tension pins | Replaces worn pins to restore louvre stiffness |
| C-clips | Adds friction to louvre pins without full replacement |
| Hinge washers | Lifts sagging panels without replacing hinges |
Tension pins, C-clips, and hinge washers are the three replacement parts you are most likely to need. They are inexpensive and widely available from shutter suppliers and hardware shops. Buying a small pack of each before you begin means you will not need a second trip.
Pro Tip: Label a small tray or egg box with the names of each part before you remove anything. Tiny C-clips and tension pins look identical and are easy to mix up once they are off the shutter.
Preparation matters as much as technique. Lay a soft cloth on the windowsill to protect the frame, and work in good natural light or use your flashlight to see pin positions clearly. A property maintenance checklist can help you schedule shutter checks alongside other seasonal home tasks, so small issues never become expensive repairs.
How do you adjust shutter louver tension?
Tension screws near shutter hinges allow incremental control over how tightly louvres hold their position, and this feature is common across many modern plantation shutter models. Tightening clockwise increases tension; turning counterclockwise gives freer movement. Small adjustments prevent damage, so never force a screw more than a quarter turn at a time.
Follow these steps for a clean tension adjustment:
- Open the shutter panel fully so you can see the hinge area clearly.
- Locate the tension screw, usually a small Phillips head screw set into the hinge barrel or stile.
- Turn the screw clockwise by a quarter turn using your Phillips head screwdriver.
- Close the panel and test the louvre movement by hand.
- Repeat in quarter-turn increments until the louvres hold position without feeling stiff.
- If the screw is already fully tightened and louvres remain loose, move on to tension pins or C-clips.
C-clips added to louvre pins increase friction and stabilise loose louvres without any overhaul. You can fit them to the top and bottom of each louvre pin for maximum effect. Use needle-nose pliers to press the clip firmly onto the pin until it seats flat. Testing movement after every adjustment confirms the right balance has been reached, and incremental step adjustments with testing prevent over-tightening and detect issues early.
Pro Tip: If a louvre flops open the moment you release it, the tension pin itself may be worn smooth. A new tension pin, rather than a tighter screw, is the correct fix in that situation.
Over-tightening is the most common DIY error at this stage. A louvre that is too stiff puts stress on the tilt rod connection and can crack the stile over time. Aim for louvres that hold position with light finger pressure but still move smoothly when you want them to.
How do you align shutter panels to stop rubbing?
Panel misalignment is the cause of most rubbing, sticking, and uneven louvre movement. The signs are clear: a panel that hangs at an angle, louvres that will not close flat, or a bottom rail that scrapes the sill.
Hinge slots allow vertical and horizontal panel shifts to fix rubbing or skewed panels quickly. Vertical slots raise or lower the panel; horizontal slots shift it in or out from the frame. Adjustments made through the hinge slots take under 15 minutes and prevent the need for costly repairs later.
Common alignment issues and their fixes:
- Panel hangs too low and scrapes the sill. Loosen the hinge screws slightly, slide the panel upward using the vertical slot, and retighten.
- Panel leans inward and rubs the frame. Use the horizontal slot to shift the panel outward, then retighten.
- Panel sags on one side. Hinge washers inserted between hinge barrels lift the panel without replacing the hinge.
- Louvres close unevenly across the panel. Check that the panel itself hangs level before adjusting individual louvres.
- Panel rubs at the top corner only. Loosen the top hinge screw and shift the panel fractionally downward.
Loosening hinge screws, repositioning, and retightening resolves the majority of shutter fit issues at home without specialist tools. Always check that the panel hangs level with a small spirit level before moving on to louvre adjustments. A misaligned panel will make every louvre adjustment feel wrong, because the root cause has not been addressed.
Pro Tip: Tighten hinge screws first, before touching any louvre tension settings. A panel that hangs level under firm hinges often resolves louvre issues without any further work.
How do you replace a damaged shutter louvre?
A cracked or warped louvre needs replacing rather than adjusting. The most important step before ordering a replacement is identifying whether your louvres are centre-drilled or off-centre drilled. Correct pivot hole placement maintains tilt rod tension and alignment. An incorrect replacement disrupts the entire panel’s operation.
Save your old louvre before disposing of it. It gives you an exact colour reference and confirms the correct width, length, and drill position for the replacement. Shutter finishes change over time, and a sample makes colour matching far more reliable.
Follow these steps to replace a louvre:
- Open the panel and locate the damaged louvre.
- Use a razor knife to score any paint seal around the louvre pins at each end.
- Grip the louvre pin with needle-nose pliers and pull the louvre free from the stile.
- Note how the tilt rod connector attaches to the louvre before removing it.
- Detach the tilt rod connector carefully, keeping it intact for reuse.
- Slide the new louvre into position from the back side of the panel, aligning the pin holes.
- Reattach the tilt rod connector to the new louvre.
- Press the pins firmly into the stile until they seat fully.
- Test the louvre by moving the tilt rod to confirm smooth, even movement.
Pro Tip: If the replacement louvre feels stiff after installation, add a C-clip to one pin rather than forcing the tilt rod. Forcing the rod is the fastest way to crack a new louvre.
For guidance on repairing damaged shutters in bespoke or unusual window shapes, Shutterworld’s detailed UK repair guide covers situations where standard replacement steps need adapting.
What are the most common shutter adjustment mistakes?
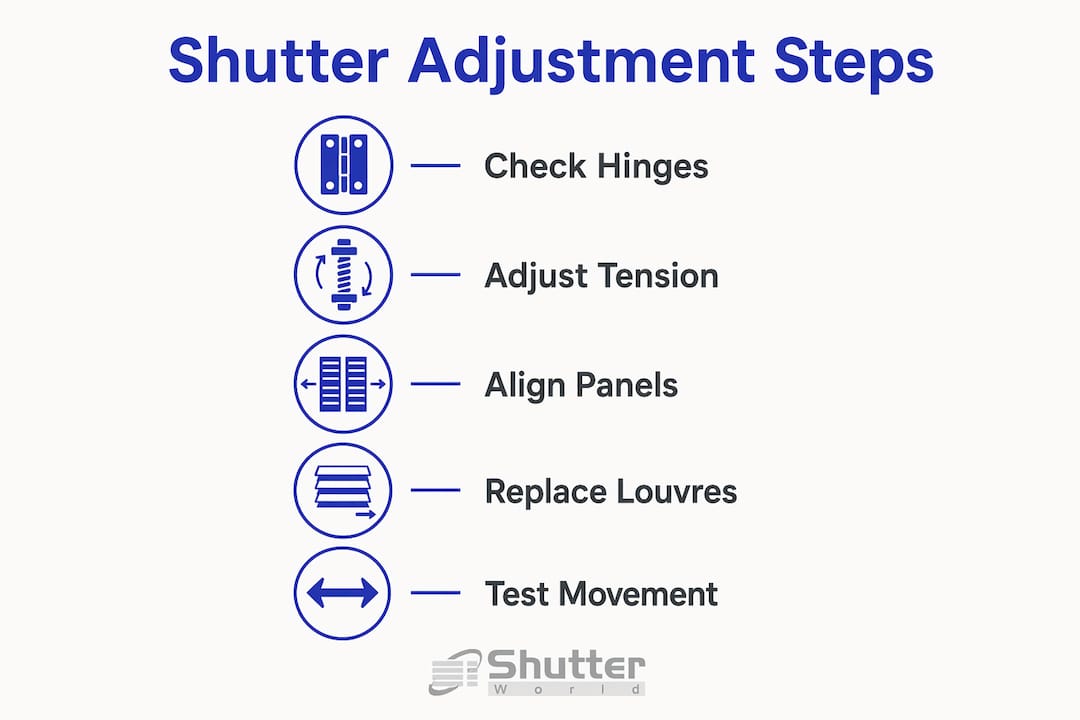
Most shutter problems trace back to one of three errors: skipping the hinge check, over-tightening tension screws, or fitting the wrong replacement louvre. Checking hinge tightness is a crucial first step because improperly secured hinges cause many issues that appear to be louvre faults. A panel that hangs unevenly puts unequal stress on every louvre pin, wearing them out faster.
Quick checks and fixes for common problems:
- Louvres still loose after tightening the tension screw. Replace the tension pin. The screw has nothing left to grip.
- Louvres too stiff to move by hand. Back the tension screw off by a quarter turn and retest.
- Tilt rod disconnected. Reconnect the rod clip to the louvre and test movement before closing the panel.
- Panel will not close flush. Check hinge alignment using the vertical and horizontal slots before adjusting louvres.
- Louvre replacement does not sit level. Confirm the drill hole position matches the original. Centre-drilled and off-centre drilled louvres are not interchangeable.
Testing shutter movement after every adjustment is the single habit that separates a successful DIY fix from a worsening problem. Make one change, test it, then decide on the next step. Rushing through multiple adjustments at once makes it impossible to identify which change caused which result.
Professional fitters recommend checking hinge screws before adjusting louver tension as a standard first step. If you have worked through all the steps above and the shutter still does not operate correctly, the issue may be a warped frame or a broken tilt rod, both of which benefit from professional assessment. Shutterworld’s guide to common shutter fitting mistakes covers the full range of errors and their solutions in detail.
Key takeaways
Correct shutter louvre adjustments require checking hinge alignment first, then addressing tension, and finally replacing parts only when incremental fixes have been exhausted.
| Point | Details |
|---|---|
| Check hinges before louvres | Tighten hinge screws and confirm the panel hangs level before touching tension settings. |
| Use quarter-turn increments | Adjust tension screws by a quarter turn at a time and test movement after each change. |
| C-clips restore tension fast | Adding C-clips to louvre pins is the quickest fix for louvres that flop open. |
| Match drill holes when replacing | Confirm centre-drilled or off-centre drilled placement before ordering a replacement louvre. |
| Test after every adjustment | One change at a time with testing prevents over-tightening and identifies the root cause. |
What I have learned from years of shutter adjustments
The most common mistake I see homeowners make is reaching for the tension screw before checking whether the panel hangs straight. A panel that leans even two or three millimetres puts uneven pressure on every louvre pin in the stile. No amount of tension adjustment fixes that. The hinge check takes thirty seconds and saves an hour of frustration.
I have also noticed that people are far too cautious about C-clips. They look fiddly, but they are genuinely the fastest and most reliable fix for a louvre that will not hold position. Needle-nose pliers, a steady hand, and thirty seconds per louvre. That is all it takes. I would reach for C-clips before I ever considered replacing a tension pin, because nine times out of ten they solve the problem completely.
The one area where I would always encourage patience is louvre replacement. Matching the drill hole position is not optional. I have seen panels rendered unusable because a homeowner fitted a centre-drilled louvre into a panel designed for off-centre drilling. The tilt rod simply cannot function correctly. Take the old louvre to your supplier, or photograph both ends clearly before ordering.
Regular maintenance is worth far more than reactive repair. A quick check of hinge screws and louvre tension twice a year, ideally in spring and autumn, keeps small issues from becoming structural ones. Shutters built from quality materials, like the hardwood used in Shutterworld’s Montana range, are forgiving of minor wear. But even the finest materials benefit from attentive care.
— Ken
Shutterworld’s bespoke shutter solutions
If your shutters need more than a DIY fix, or if you are considering new shutters that are built to last with minimal adjustment over time, Shutterworld offers a complete service from survey to installation.
[IMAGE:cta_image]
Shutterworld’s plantation shutters are made to measure for every window type, including bay, arched, and conservatory windows where standard shutters simply will not fit. With over 25 years of experience, Shutterworld’s fitters handle the precision work so you do not have to. Every installation comes with product and workmanship guarantees, giving you confidence that your shutters will perform beautifully for years. Book a free in-home survey and receive a clear, competitive quote with no surprises.
FAQ
What causes shutter louvres to become loose?
Louvre pins wear down over time, reducing friction and causing louvres to flop open. Worn tension pins or missing C-clips are the most common causes, and both are straightforward to fix at home.
How do I stop my shutter panel from rubbing the frame?
Loosen the hinge screws slightly and use the hinge’s vertical or horizontal adjustment slots to reposition the panel. Retighten the screws and test the panel before adjusting individual louvres.
Can I replace a single shutter louvre myself?
Yes. Remove the damaged louvre using needle-nose pliers and a razor knife, then fit a replacement that matches the original drill hole position. Centre-drilled and off-centre drilled louvres are not interchangeable, so confirm the type before ordering.
How tight should shutter louvres be?
Louvres should hold their position under light finger pressure but move smoothly when you want to adjust them. If they require significant force to move, back the tension screw off by a quarter turn and retest.
When should I call a professional instead of adjusting shutters myself?
Call a professional if the shutter frame is warped, the tilt rod is broken, or repeated adjustments have not resolved the problem. Shutterworld’s team can assess and repair shutters that are beyond straightforward DIY fixes.