
Wood finishing for shutters: boost style and durability

Wood finishing techniques shutters
TL;DR:
- Modern professional finishing techniques significantly extend wooden shutters’ durability and lifespan.
- The choice of paint, stain, or natural finish depends on room humidity, style, and maintenance preferences.
- Proper surface preparation and expert application are essential to avoid common finishing mistakes and ensure lasting beauty.
Many homeowners assume wooden shutters are a liability, expecting them to chip, fade, or warp within a few years. It is a common misconception, and one that puts people off investing in what could be the most transformative window treatment in their home. The truth is that modern professional finishing techniques have changed everything. With the right preparation, materials, and application methods, bespoke wooden shutters can look flawless for decades. This guide walks you through the key finishing options, expert techniques, and practical choices that matter most for UK homes, so you can invest with complete confidence.
Table of Contents
- Understanding wood finishing for shutters: Why it matters
- Types of wood finishes: Paint, stain, and natural looks
- The bespoke shutter process: Custom colours and advanced techniques
- Common mistakes and expert tips for flawless shutter finishes
- Our take: Why the finish deserves as much attention as the shutter design
- Upgrade your home with expertly finished shutters
- Frequently asked questions
Key Takeaways
| Point | Details |
|---|---|
| Proper finishing extends lifespan | Meticulous surface preparation and professional-grade paints or stains can keep your shutters looking new for years. |
| Finish choice impacts style and function | Painted, stained, and natural finishes each suit different spaces and aesthetics in your home. |
| Bespoke shutters demand expert finishing | Unique window shapes require advanced techniques like precision colour matching and CAD-based design. |
| Avoid common finishing mistakes | Skipping essential steps can lead to premature wear; expert tips ensure a flawless result. |
Understanding wood finishing for shutters: Why it matters
The finish on your shutters is not cosmetic. It is structural protection, built into every layer of the wood’s surface. Without it, even premium hardwood will absorb moisture, discolour in sunlight, and show wear within a couple of years. With it, your shutters become genuinely resilient, standing up to the particular demands of the British climate.
Professional wood finishing for shutters involves meticulous surface preparation, including sanding, priming, and sealing, followed by spray coating or hand-finishing with UV-resistant, professional-grade paints or stains to ensure durability and resistance to chipping, fading, and wear. Each stage matters. Skipping even one step compromises the entire result.
The process typically unfolds in several stages:
- Surface sanding: Multiple grits are used to create a perfectly smooth base, removing imperfections and opening the grain for better adhesion.
- Priming: A specialist primer seals the wood, prevents tannin bleed, and creates the ideal foundation for the topcoat.
- Spray or hand coating: Professional-grade paints or stains are applied in controlled conditions, ensuring an even, bubble-free finish.
- UV-resistant topcoat: A protective layer guards against fading caused by direct sunlight, which is particularly important for south-facing rooms.
The impact on longevity is significant. Professional-grade finishes extend shutter lifespan by up to 40% compared to standard applications, with water-based paints showing superior performance in real-world conditions.
| Finishing standard | Average lifespan | Resistance to fading | Resistance to chipping |
|---|---|---|---|
| No finish | 3 to 5 years | Poor | Poor |
| Standard DIY finish | 6 to 9 years | Moderate | Moderate |
| Professional-grade finish | 15 to 20+ years | Excellent | Excellent |
“The difference between a shutter that looks tired after five years and one that looks pristine after fifteen comes down almost entirely to the quality of the finishing process, not the wood itself.”
For bespoke window shutters fitted to unusual or architectural shapes, this precision matters even more. Complex frames have more exposed edges and joints, making thorough preparation and sealing absolutely essential.
Types of wood finishes: Paint, stain, and natural looks
With the finishing process understood, the next decision is which type of finish suits your home. Each option has a distinct character, and the right choice depends on your room, your style, and how much maintenance you are willing to commit to.
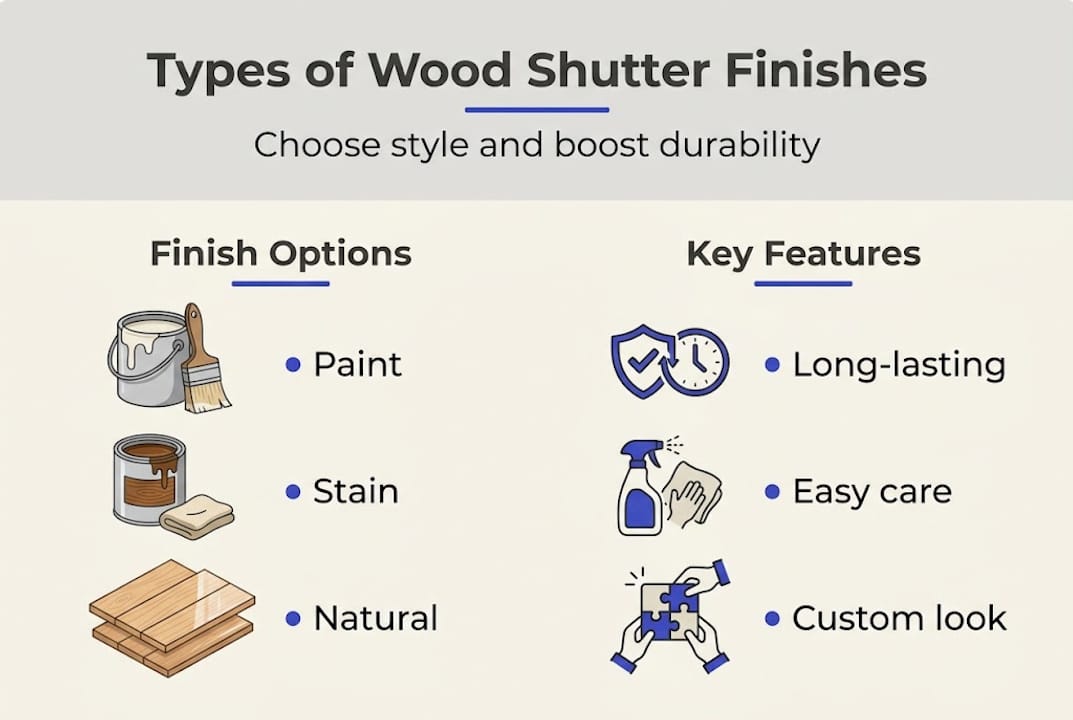
Hardwood shutters can be painted, stained, or left natural. Painted finishes provide a clean, modern look suitable for high-humidity areas when using specialist formulations, while stained finishes highlight natural wood grain for traditional aesthetics.

| Finish type | Appearance | Maintenance | Best rooms | Durability |
|---|---|---|---|---|
| Painted | Clean, contemporary | Low | Bathrooms, kitchens, living rooms | Very high |
| Stained | Warm, natural grain visible | Moderate | Studies, dining rooms, bedrooms | High |
| Natural/oiled | Raw, organic texture | Higher | Low-humidity rooms only | Moderate |
Choosing between them is straightforward when you follow a clear process:
- Assess the room’s humidity. Bathrooms and kitchens need specialist painted finishes. For shutters in humidity-prone spaces, paint is almost always the right call.
- Consider your interior style. Modern or Scandinavian interiors suit painted shutters in neutral tones. Period or traditional rooms benefit from stained wood that shows the grain.
- Think about your maintenance habits. Painted shutters are easier to wipe clean and touch up. Stained finishes require periodic re-oiling or re-staining to maintain their depth.
- Factor in light levels. Lighter painted finishes reflect more light, making them ideal for darker rooms. Stained finishes absorb more light, adding warmth to bright spaces.
- Decide on colour flexibility. If you like to redecorate regularly, painted shutters offer more flexibility. Consider shutter colour matching services to align with your broader scheme.
Pro Tip: For shutters fitted to bay windows or angled frames, always choose a painted finish. The additional joints and exposed edges in complex shapes benefit from the superior sealing properties of a professional paint system, reducing the risk of moisture ingress at vulnerable points.
The bespoke shutter process: Custom colours and advanced techniques
When your windows are anything but standard, the finishing process becomes even more involved. Bespoke shutters for arched, triangular, or skylight windows are not simply cut to shape and painted. They are engineered from the outset with the finish in mind.
Finishing for bespoke shutters with unique window shapes follows precision manufacturing using CAD design, material selection such as lightweight hardwoods like Paulownia or Basswood, and custom colour matching to Farrow & Ball or similar paint ranges. This level of detail ensures the finished shutter integrates seamlessly with your interior, rather than sitting apart from it.
Here is what the bespoke finishing process typically includes:
- CAD-guided manufacturing: Every component is designed digitally before cutting, ensuring that joints, edges, and surfaces align perfectly for an even finish application.
- Material selection for finish compatibility: Lightweight hardwoods like Paulownia absorb stains and paints evenly, reducing blotching and ensuring a consistent result across the entire shutter.
- Custom colour matching tips: Whether you want a precise match to an existing wall colour or a specific heritage shade, professional colour matching removes guesswork entirely.
- Multi-coat hand finishing: For premium projects, multiple coats are applied by hand between fine sanding stages, building depth and resilience that spray-only methods cannot replicate.
- Period property considerations: For older homes, bespoke shutter options include heritage-appropriate colours and finishes that respect the character of the property.
Pro Tip: The most common finishing failure in bespoke projects is rushing the preparation stage. Each coat of paint or stain needs adequate drying time before the next is applied. Cutting this short causes adhesion failure, which means peeling or flaking within months. Patience at the preparation stage pays for itself many times over. Explore shutter styling tips to see how finish choices complement different interior schemes.
Common mistakes and expert tips for flawless shutter finishes
Even the finest materials will underperform if the finishing process is handled carelessly. These are the mistakes we see most often, and the expert approaches that prevent them.
Common pitfalls to avoid:
- Skipping the primer: Bare wood absorbs topcoat unevenly, creating a patchy result and reducing adhesion. Priming is not optional.
- Using the wrong sandpaper grit: Starting with too coarse a grit leaves scratches that show through the topcoat. Always progress through grits systematically.
- Applying thick coats: Thick paint coats sag, crack, and take far longer to cure. Multiple thin coats always outperform a single heavy application.
- Ignoring the environment: Applying finishes in cold or damp conditions causes poor adhesion and extended drying times. UK winters require particular care.
- Neglecting edges and joints: These are the most vulnerable points on any shutter, especially finishing tricky windows with unusual shapes. Edges must be sealed as thoroughly as flat surfaces.
For UK homes specifically, consider the impact of radiators. Shutters fitted near heat sources experience repeated expansion and contraction, which stresses the finish. A flexible, professional-grade paint system handles this movement far better than rigid or budget coatings.
“Painted suits contemporary, high-traffic areas for easy maintenance and light reflection; stained is preferred for period homes to showcase grain, but requires more care; custom matching is essential for bespoke integration.”
When selecting shutter panels for feature windows, always discuss the finish specification with your installer before manufacturing begins. Retrofitting a different finish later is costly and rarely achieves the same result as getting it right from the start.
Our take: Why the finish deserves as much attention as the shutter design
In our experience, most homeowners spend considerable time choosing the style, louvre size, and frame profile of their shutters, then give the finish only a passing thought. This is, frankly, the wrong order of priorities.
The finish is what you interact with every single day. It is what your guests notice first. It is what determines whether your shutters look as good in ten years as they do on installation day. We have seen beautifully designed shutters deteriorate within three years because the finishing was treated as an afterthought, and we have seen modest designs remain pristine for fifteen years because the preparation and application were handled with genuine care.
For choosing interior shutters that truly stand the test of time, we always encourage homeowners to ask their supplier directly about the finishing process, the materials used, and the number of coats applied. If the answer is vague, that tells you something important. A quality finish is not a hidden detail. It is a mark of genuine craftsmanship, and it deserves to be discussed openly from the very first conversation.
Upgrade your home with expertly finished shutters
At Shutter World, we believe that a beautifully finished shutter is the result of expertise applied at every stage, from the first measurement to the final coat. Our team works with homeowners across the UK to deliver plantation shutters and bespoke internal shutters that are finished to the highest professional standard, whatever the shape or size of your windows.

Whether you have a straightforward sash window or a complex arched frame, we have the materials, techniques, and experience to deliver a finish that genuinely transforms your space. Discover the hidden benefits of custom shutters and book your free in-home survey today. Your satisfaction is our priority, and it starts with getting the finish exactly right.
Frequently asked questions
How does wood finishing impact the lifespan of my shutters?
Professional-grade finishes extend shutter lifespan by up to 40% compared to standard applications, meaning your investment lasts significantly longer with the right treatment from the outset.
Which finish should I use for shutters in humid rooms like bathrooms?
Specialist painted finishes for humidity are the best choice, as they resist moisture effectively and are straightforward to clean, making them ideal for bathrooms and kitchens.
Can I match my shutters’ colour to my existing paint scheme?
Yes, professional services offer custom colour matching to ranges such as Farrow & Ball, ensuring your shutters integrate seamlessly with your existing interior scheme.
Should I choose paint or stain for a period property?
Stained finishes enhance the natural wood grain and are ideal for period homes, while painted finishes suit contemporary spaces and generally require less ongoing maintenance.