
Master Shutter Installation Timelines for Bespoke Windows

Shutter installation timelines
Struggling to find the perfect fit for your unique windows can make even stunning West Yorkshire homes feel unfinished. Non-standard shapes deserve more than a one-size approach, especially when both style and function matter. A precision-engineered shutter solution starts with a professional in-home survey, led by trained surveyors who record every detail to ensure your bespoke shutters complement your home’s character and meet the strictest quality standards.
Table of Contents
- Step 1: Arrange In-Home Survey And Measure Windows
- Step 2: Confirm Bespoke Specifications And Order Shutters
- Step 3: Schedule Manufacturing And Delivery Milestones
- Step 4: Prepare Installation Area For Fitters
- Step 5: Oversee Professional Fitting And Conduct Final Checks
Quick Summary
| Key Point | Explanation |
|---|---|
| 1. Arrange a professional survey | A detailed in-home survey ensures precise measurements and tailored shutter designs. |
| 2. Confirm bespoke specifications | Reviewing materials, finishes, and mechanisms guarantees your shutters meet your vision. |
| 3. Schedule manufacturing milestones | Clear timelines for production and delivery ensure smooth transitions from design to installation. |
| 4. Prepare installation area | Clearing the space around windows facilitates efficient and safe fitting by professionals. |
| 5. Oversee fitting and quality checks | Active involvement during installation ensures shutters meet specifications and operation is smooth. |
Step 1: Arrange in-home survey and measure windows
Arranging a professional in-home survey is the critical first step towards securing perfectly fitted bespoke window shutters for your home. During this essential consultation, specialist surveyors will meticulously evaluate your windows and discuss your specific design requirements to ensure a precision-engineered shutter solution.
The survey process involves several key stages designed to capture every nuanced detail of your windows. Professional surveyors from trained industry specialists will comprehensively measure each window’s exact dimensions, assess the architectural characteristics, and understand your aesthetic preferences. This detailed evaluation helps prevent common measurement errors that could compromise the final shutter fit.
Your survey typically includes:
- Precise digital or manual measurements of window width, height, and depth
- Assessment of window frame material and condition
- Evaluation of window opening mechanisms
- Discussion of preferred shutter styles and configurations
- Identification of any unique architectural features
Preparing for the survey requires minimal effort on your part. Ensure clear access to all windows and have any specific design ideas or functional requirements ready to discuss. The surveyor will guide you through each step, answering questions and providing expert recommendations tailored to your home’s unique characteristics.
The following table summarises common issues caused by improper window measurement and how a professional surveyor addresses them:
| Potential Issue | Impact on Shutter Fit | Solution by Professional Survey |
|---|---|---|
| Incorrect Measurements | Shutters too tight or loose | Expert use of precise tools |
| Overlooked Frame Details | Poor integration with the window | Comprehensive frame assessment |
| Missed Architectural Features | Misaligned or obstructed panels | Custom adjustments during consultation |
| Ignored Window Mechanism | Restricted operation | Surveyor evaluates mechanisms |
Professional window measurements are the foundation of a perfect shutter installation, ensuring seamless integration with your home’s architectural design.
Top tip: Keep all windows easily accessible and have your design inspiration images ready to help the surveyor understand your vision precisely.
Step 2: Confirm bespoke specifications and order shutters
Confirming your bespoke shutter specifications is the pivotal moment when your unique vision becomes a tangible design. This crucial stage ensures every detail of your shutters matches your home’s aesthetic and functional requirements, creating a precision-crafted window solution.
The specification confirmation process involves a comprehensive review of multiple design elements. Detailed product specifications will be meticulously examined, including materials, finishes, operational mechanisms, and precise measurements. You’ll work closely with specialist design consultants to validate every aspect of your custom shutters, ensuring they perfectly complement your interior style and architectural characteristics.
Key elements to confirm during specification review include:
Here is a quick comparison of bespoke shutter materials to help guide your specification choices:
| Material | Appearance & Finish | Durability | Suitability for Rooms |
|---|---|---|---|
| Hardwood | Natural grain, premium look | Highly durable, long-lasting | Living rooms, bedrooms |
| MDF | Smooth, painted finish | Moisture-sensitive, cost-effective | Dining rooms, low-moisture areas |
| Polypropylene | Wipe-clean, contemporary | Resistant to water, robust | Bathrooms, kitchens |
- Exact window measurements from the survey
- Selected shutter material (hardwood, MDF, polypropylene)
- Preferred colour and finish
- Louvre width and configuration
- Opening mechanism type
- Frame style and mounting options
- Additional features like mid-rails or split panels
During this stage, you’ll receive a comprehensive quotation and design rendering that provides a crystal-clear preview of your final product. Take time to review these documents carefully, asking questions and requesting adjustments to guarantee complete satisfaction before production begins.
Precision in specification confirms that your bespoke shutters will not just fit perfectly, but also reflect your unique design vision.
Top tip: Request digital design mockups to visualise how your chosen shutters will look in your living space before placing your final order.
Step 3: Schedule manufacturing and delivery milestones
Scheduling the manufacturing and delivery milestones for your bespoke shutters transforms your design from concept to reality. This critical stage sets the timeline for delivering your custom window solutions from our workshop to your home, ensuring a seamless production process.

Manufacturing project scheduling involves a meticulous coordination of multiple production stages. Your dedicated project manager will outline a comprehensive timeline that breaks down each phase of shutter creation, from initial material selection through final quality inspection and delivery preparation.
Typical manufacturing milestones will include:
- Initial material procurement
- Custom cutting and fabrication
- Precision painting or finishing
- Quality control inspections
- Final assembly
- Packaging for safe transportation
- Scheduled delivery window confirmation
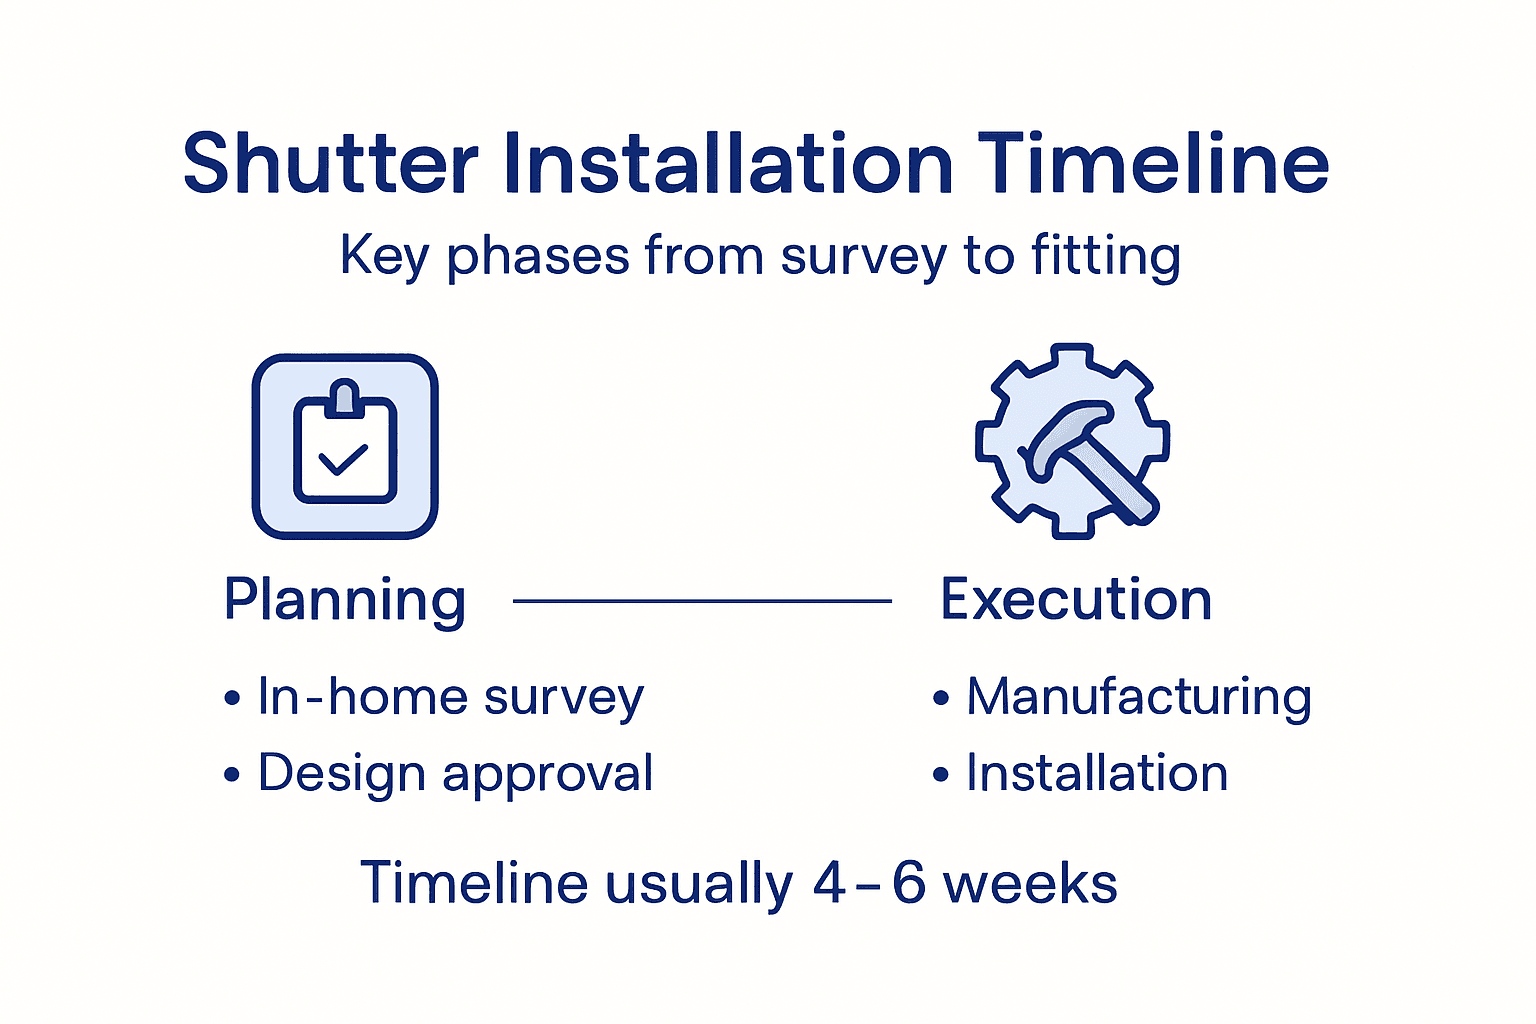
During this phase, you’ll receive regular updates about your shutters’ progress. The timeline typically ranges from 4-6 weeks, depending on the complexity of your bespoke design and current workshop capacity. Your project manager will provide precise estimated completion and delivery dates, allowing you to plan accordingly.
Effective scheduling transforms custom shutter production from a complex process into a smooth, transparent journey.
Top tip: Request a digital tracking link to monitor your shutters’ progress through each manufacturing milestone.
Step 4: Prepare the installation area for fitters
Preparing your installation area is a crucial step that ensures a smooth, efficient shutter fitting experience. By creating an optimal environment for our professional fitters, you’ll help guarantee a seamless installation process and protect your home’s interior during the transformation.
Building regulations preparation involves carefully clearing and organising the space around your windows. This means creating unobstructed access that allows our installation team to work safely and efficiently, with ample room to manoeuvre their tools and equipment.
Key preparation steps include:
- Move furniture at least 1 metre away from windows
- Remove curtains, blinds, and existing window treatments
- Clear windowsills and the surrounding areas of decorative items
- Ensure a clear pathway from the entrance to the installation areas
- Secure pets in a separate room
- Protect the flooring with drop cloths or protective coverings
- Ensure adequate lighting in the installation space
- Make electrical outlets accessible if required
The preparation process typically takes 1-2 hours, depending on your room’s layout and the number of windows being fitted. By investing time in thorough preparation, you’ll help our fitters work quickly and professionally, minimising disruption to your daily routine.
A well-prepared space is the foundation of a flawless shutter installation.
Top tip: Take photographs of your window areas before moving furniture to help you restore the room’s original layout after installation.
Step 5: Oversee professional fitting and conduct final checks
Overseeing the professional shutter installation represents the culmination of your bespoke window transformation journey. This critical stage ensures your meticulously designed shutters are perfectly integrated into your living space, delivering both aesthetic excellence and functional precision.
Professional installation standards require a comprehensive and methodical approach to fitting and final quality verification. Your installation team will systematically work through each window, ensuring every shutter panel aligns seamlessly, operates smoothly, and meets the exact specifications discussed during earlier design stages.
Key elements to verify during installation include:
- Precise alignment of shutter frames
- Smooth opening and closing mechanisms
- Consistent louvre positioning
- Secure mounting to window frames
- Levelness of all shutter components
- Gaps and tolerances between panels
- Finishing details and paintwork quality
- Functional integrity of all moving parts
During the fitting, remain present and engaged, asking questions and observing the installation process. Your installers welcome constructive dialogue and will happily demonstrate the functionality of your new shutters, explaining operational nuances and maintenance recommendations.
Attentive oversight during installation transforms a technical process into a collaborative craftsmanship experience.
Top tip: Request a detailed walkthrough of your shutters’ operation, including any specific adjustment techniques for optimal performance.
Streamline Your Bespoke Shutter Journey with Shutter World
Mastering shutter installation timelines is essential to avoiding delays and ensuring flawless results. The article highlights challenges like precise window measurement, bespoke specifications, and scheduling manufacturing milestones that directly impact your project’s success. At Shutter World, we understand these pain points and specialise in guiding you through every step—from professional in-home surveys to expert installation—so you gain confidence that your shutters will fit perfectly and arrive on time.
Whether you have complex window shapes or require robust blackout shutters for maximum privacy, our bespoke solutions cater to your unique style and functional needs. Discover why homeowners in West Yorkshire and beyond choose Shutter World for a hassle-free experience backed by 25 years of craftsmanship and personalised service.
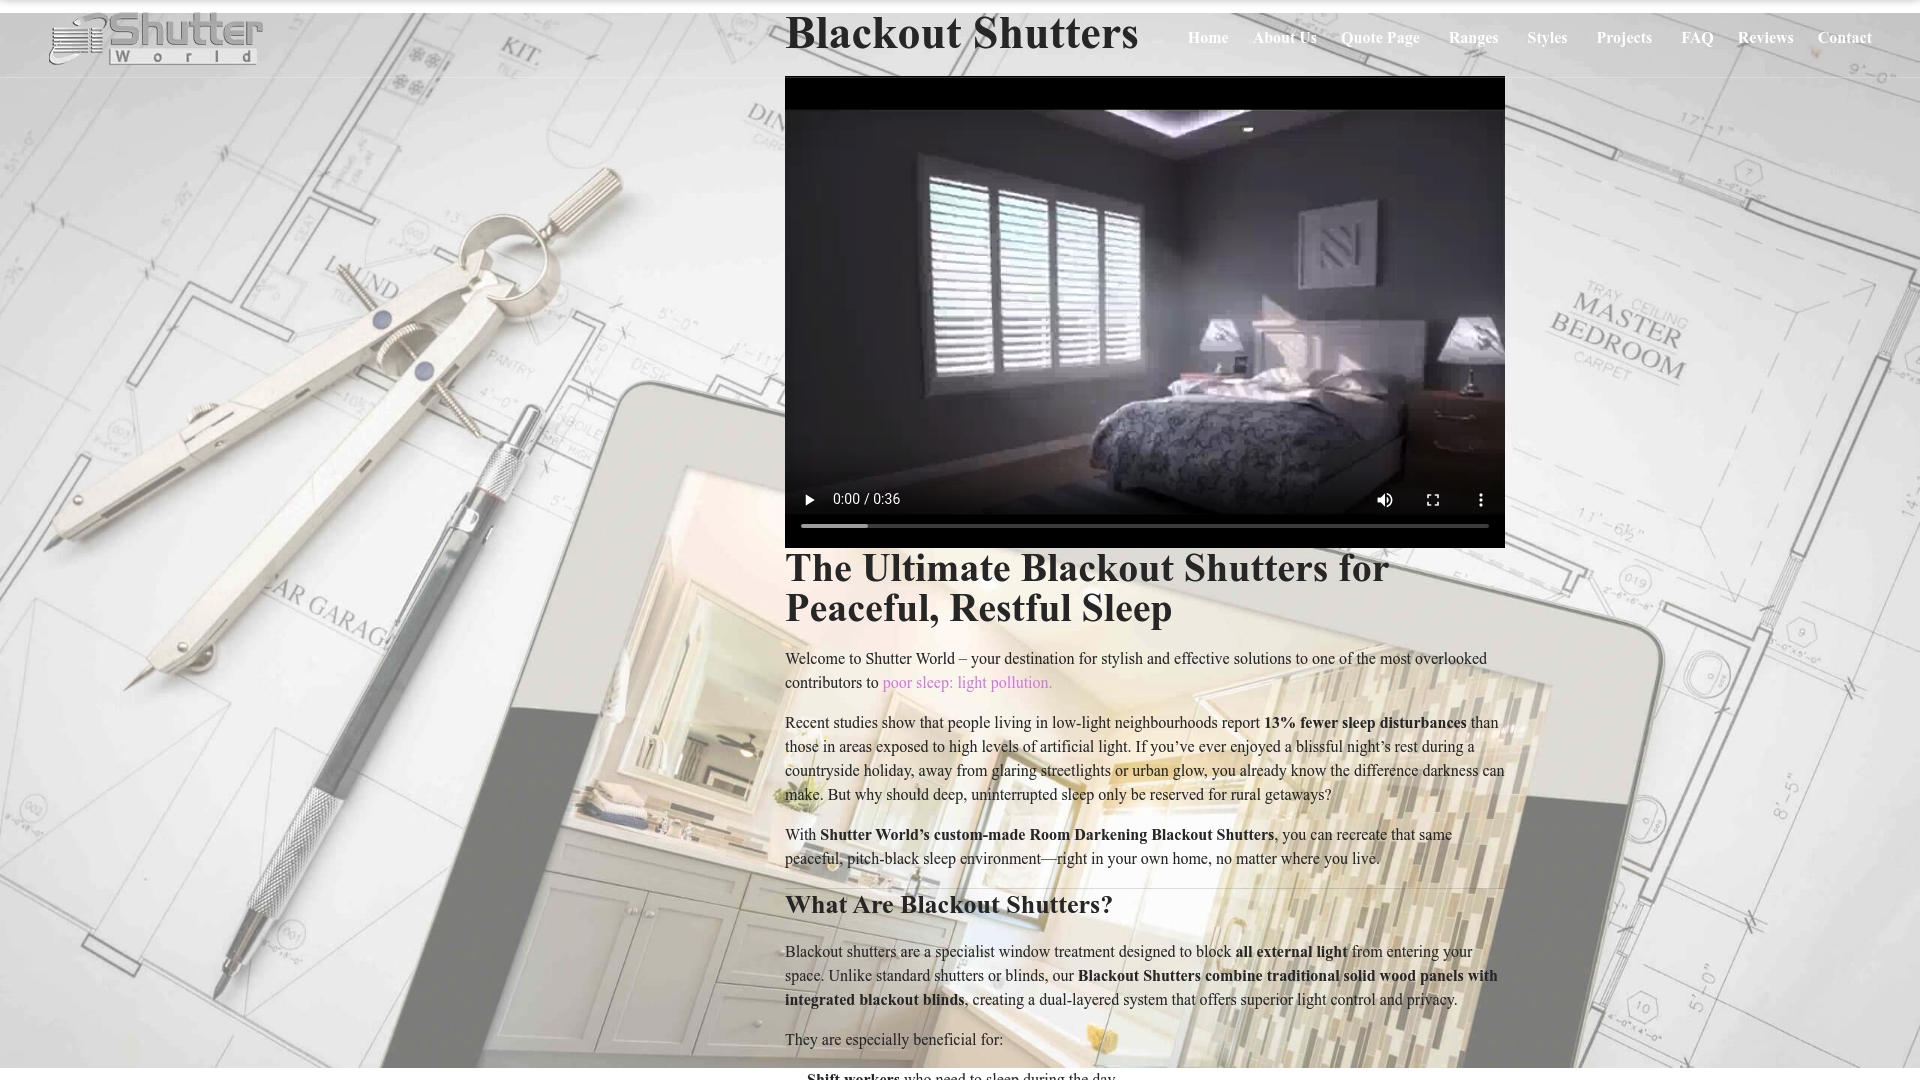
Ready to transform your home with perfectly timed, precision-crafted shutters? Start with a detailed survey and personalised design advice today by exploring our premium Blackout Shutters. For insights into our expert fittings, visit our Ossett Plantation shutters page. Don’t let installation uncertainties hold you back—partner with Shutter World for peace of mind and beautiful results.
Frequently Asked Questions
How long does the bespoke shutter installation process take from start to finish?
The bespoke shutter installation process typically takes 4 to 6 weeks. This duration includes the initial in-home survey, manufacturing, delivery, and installation phases. Plan ahead to ensure your project fits within this timeline.
What steps should I take to prepare my home for shutter installation?
To prepare your home, clear the area around the windows by moving furniture at least 1 metre away and removing any existing window treatments. Additionally, secure pets in a separate room to ensure a smooth installation process.
What should I expect during the professional fitting of my bespoke shutters?
During the professional fitting, expect the installation team to systematically align and secure each shutter, ensuring they operate smoothly and meet your specifications. Engage with the installers to ask questions and understand how your new shutters work.
How can I oversee the installation process effectively?
To effectively oversee the installation, remain on-site and observe the fitting team as they work. Note how they align the frames, and ensure you can ask questions about the operation and maintenance of your shutters.
Are there any specific timelines I should be aware of during the manufacturing phase?
Yes, the manufacturing phase involves several key milestones, including initial material procurement and quality control inspections. Confirm a detailed schedule with your project manager, typically spanning 4 to 6 weeks, to stay informed about your shutters’ progress.
What details should I confirm when reviewing my bespoke shutter specifications?
When reviewing your bespoke shutter specifications, confirm critical details, including window measurements, materials, colour finishes, and operational mechanisms. Ensuring these elements align with your vision will help avoid delays in production and installation.
Recommended
- Custom Shutters Process in the UK: Step-by-Step Guide 2025 | Shutter World
- Shutter Fitting for Builders: Achieving Bespoke Results | Shutter World
- Shutter Installation Timeline: A Step-by-Step Homeowner Guide | Shutter World
- Create a Stylish Space: How to Install Shutters Successfully
- Ghid complet de așezare a tablourilor canvas pe perete – LuxCanva® – Magazin tablouri canvas si tablouri personalizate